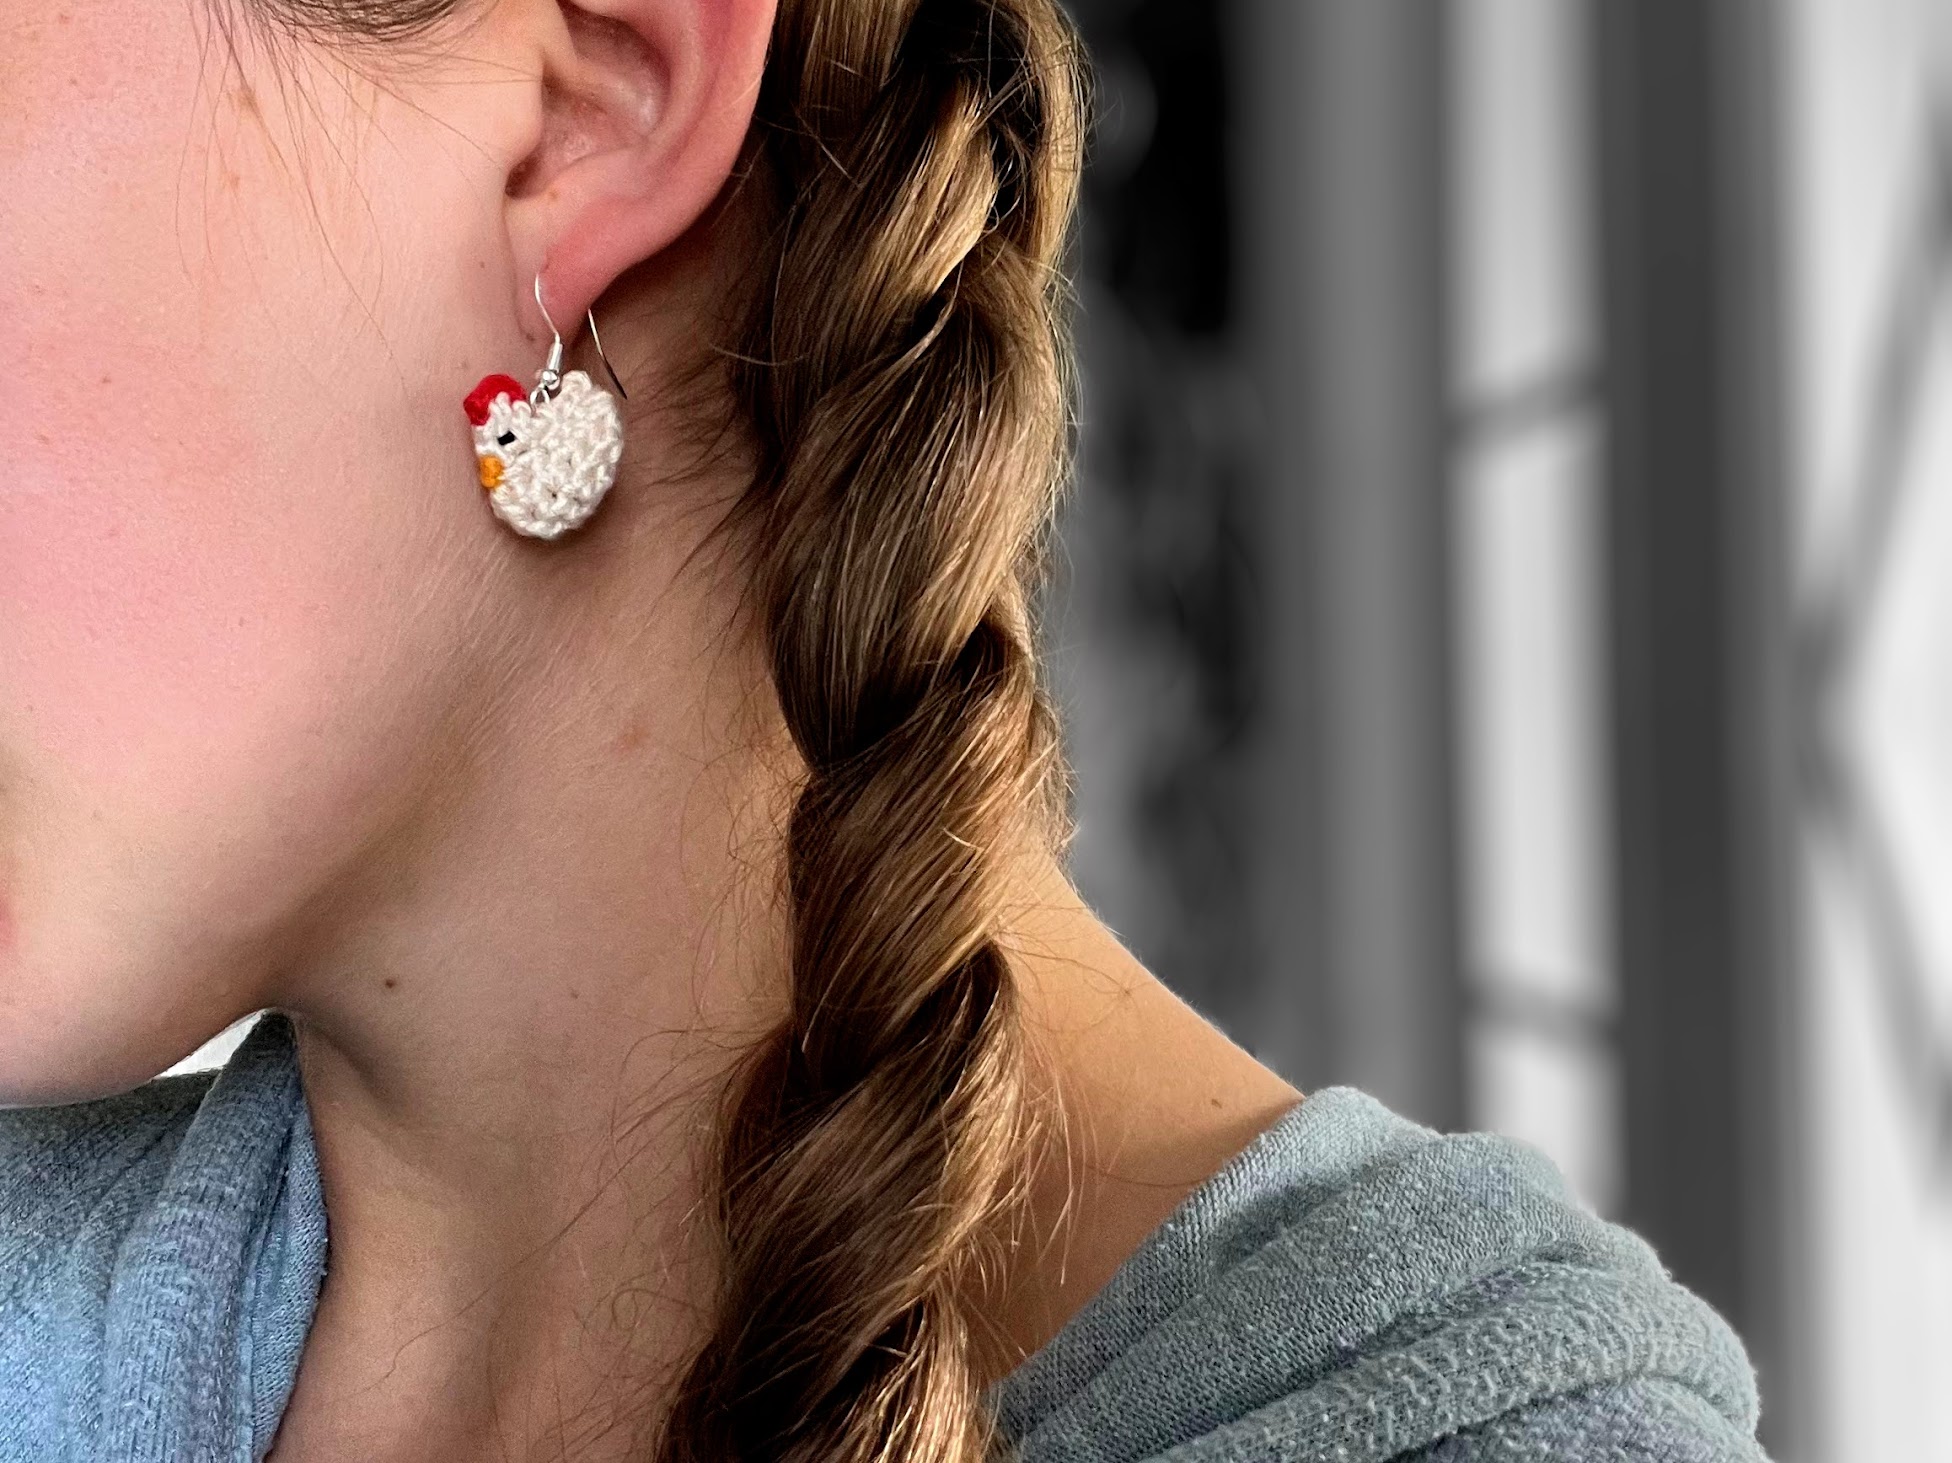
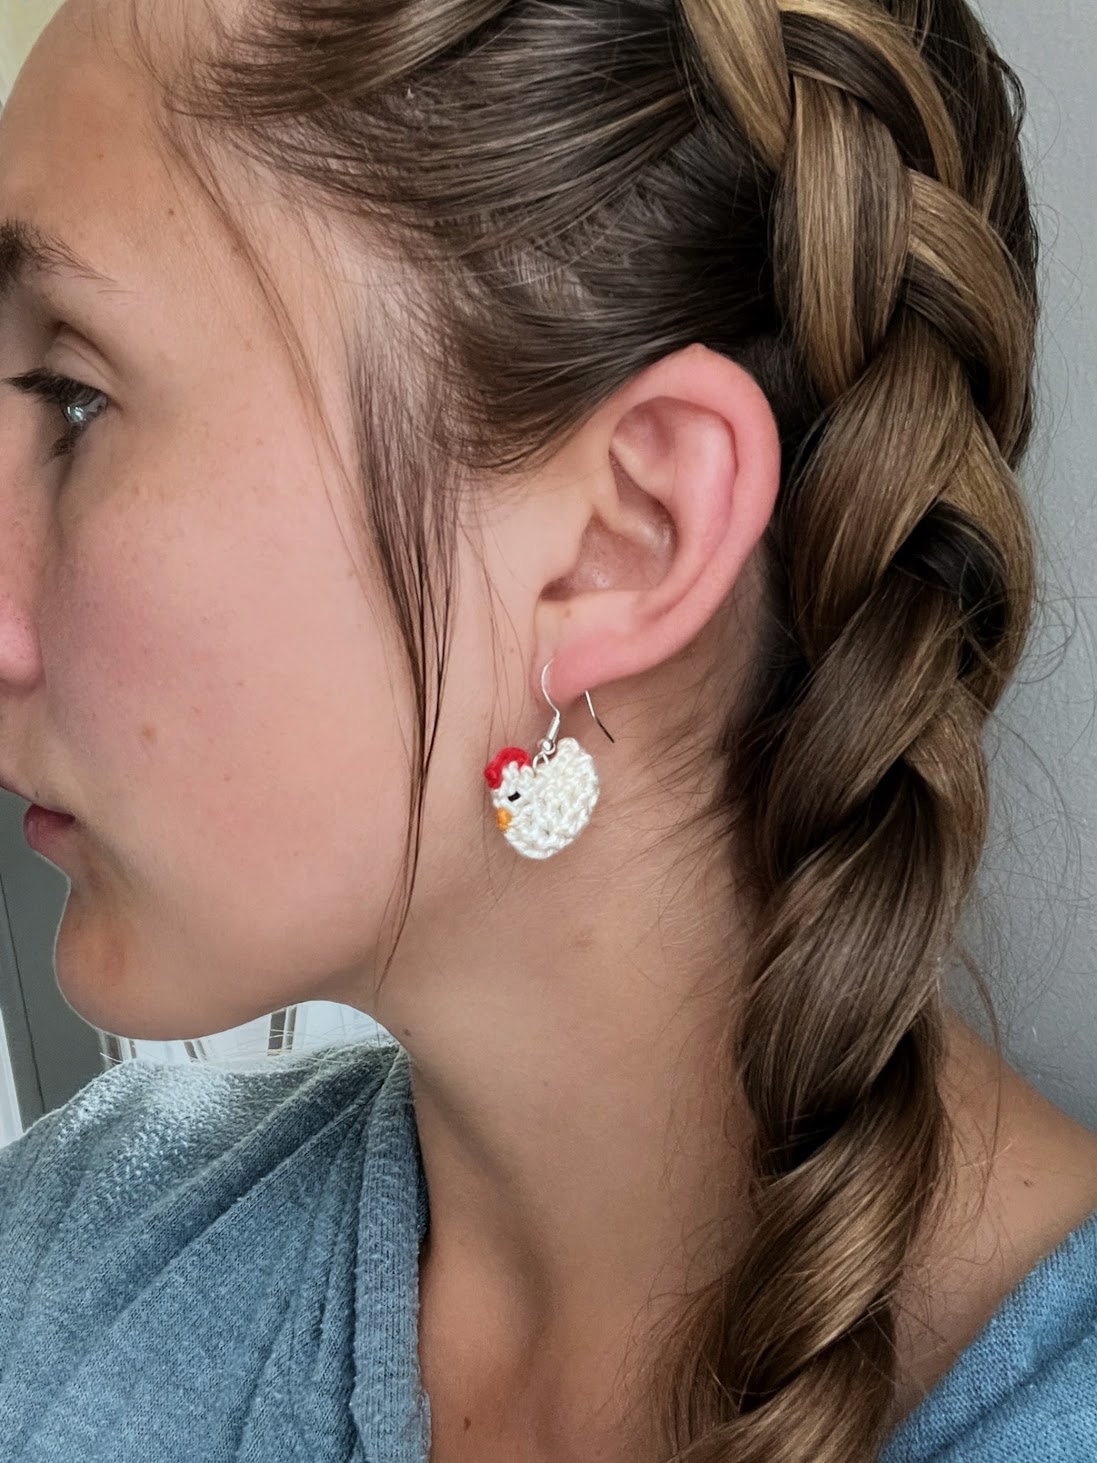
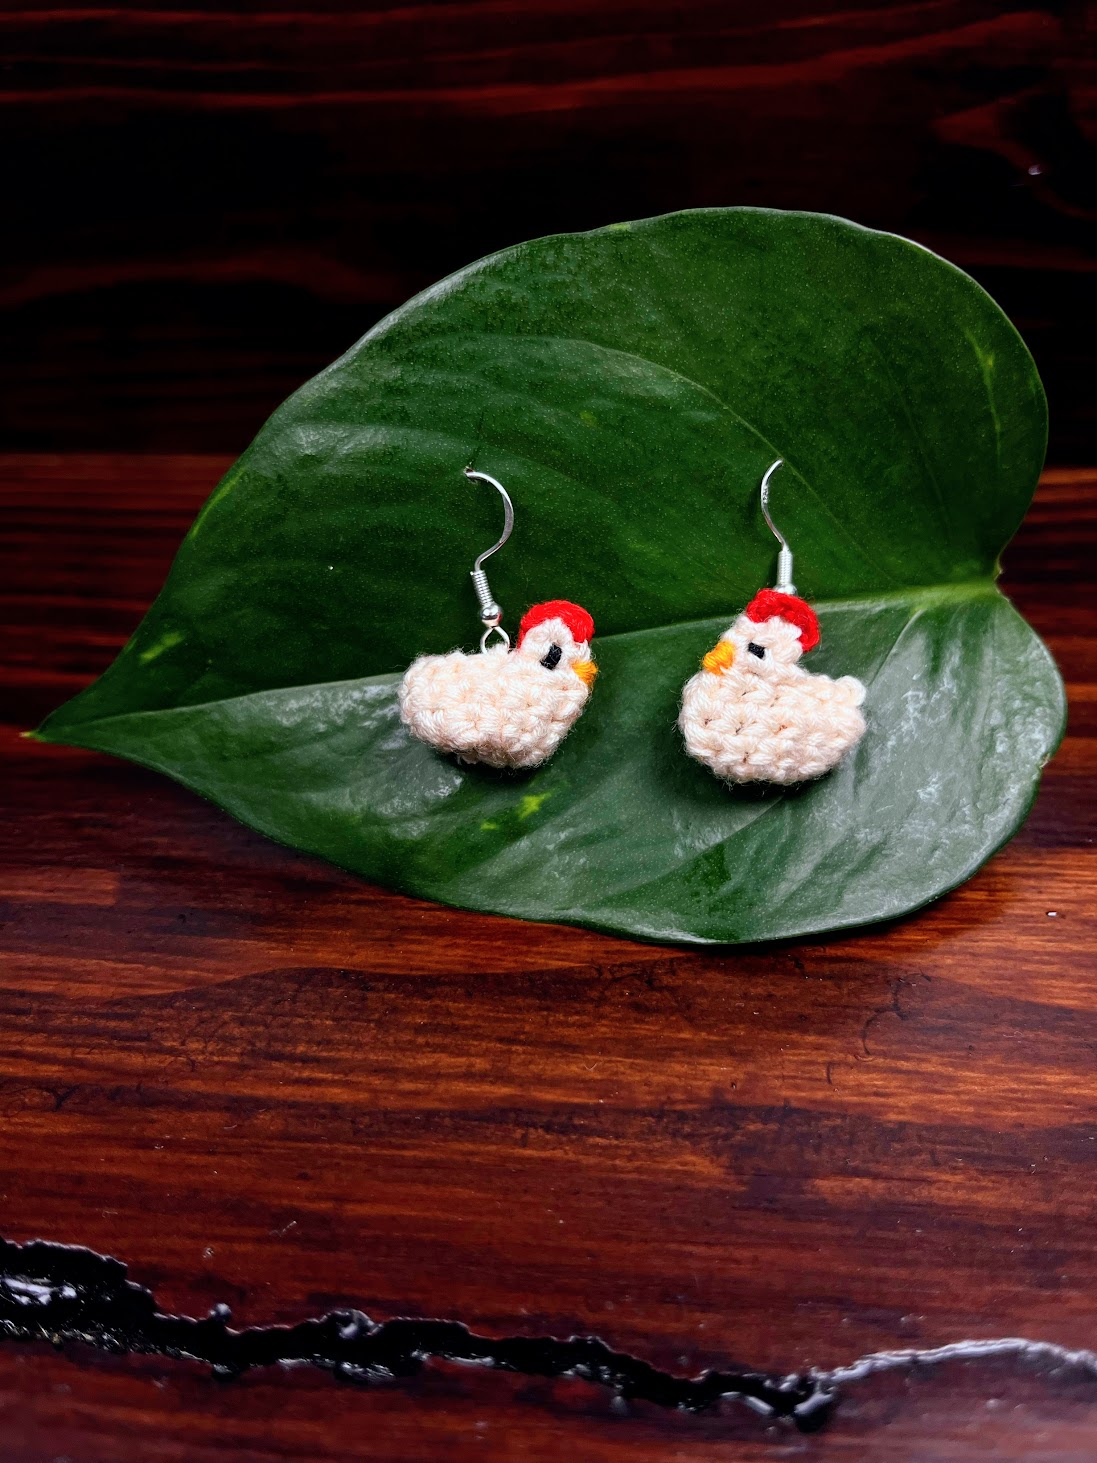
This Amigurumi Chicken Earring Crochet Pattern is a quick and lovely way to liven up your wardrobe. They are perfect for farm loving ladies or Cottagecore Crocheters. Unlike all my other Patterns this pattern is made not with Yarn but with Embroidery floss thread.
If you run your own crochet stand at the local farmers market, these Earrings are the perfect addition to your stand. They can be made really quick and easy and are so cute!
My Premium printable version of this pattern Contains a PDF Market Tag sheet with lovely little Barn Display tags for these chickens to hang from. The Premium Pattern can be currently found on my Etsy Shop.
Amigurumi Chicken Earring Crochet Pattern
Materials:
Below are the materials you will need to complete this pattern. Several of them have included affiliate links, at no cost to you I will make a small commision on sales placed using these links which is greatly appreciated.
Embroidery Floss Set:
Colors we need:
Cream
Black
Yellow
Red
Earring Hooks:
1.25 mm Crochet Hook Set:
Yarn Needle
Abbreviations
Sc- Single Crochet
slst - Slip Stitch
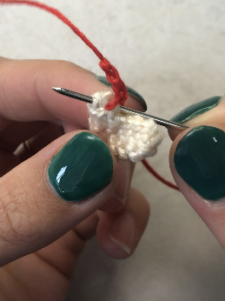
Amigurumi Chicken Earring Crochet Pattern Body
Start with a magic circle
6 sc inside the circle pull loop closed, but not super tight.
We need a little hole to push our square knots into later in this pattern.
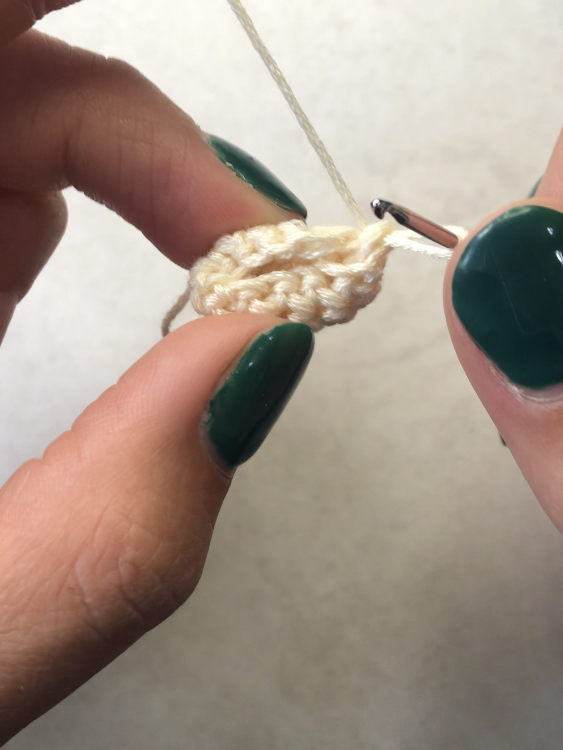
Round 1: (sc inc) x6 (12)
Round 2: 12 sc (12)
Round 3: 12 sc (12)
Fold the little body in half. The hook should be on the end of the folded circle. Line the stitches up across from each other. Slip stitch the two stitches closest to the hook together using the outside loops (the loop closest to you,and the one furthest from you.)
Then slip stitch the next two stitches we lined up together as well.
Repeat this process one more time.
We will have a total of 3 slip stitches through 6 stitches that were lined up.
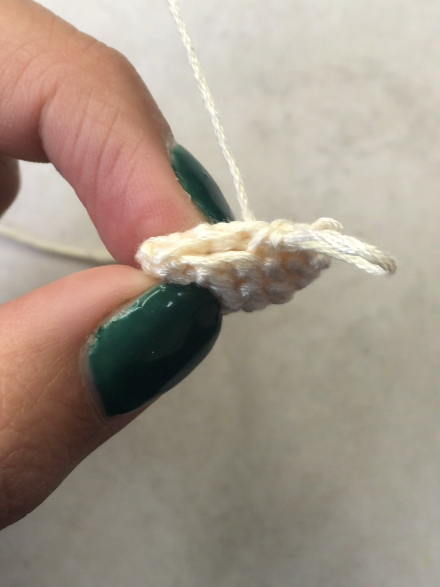
Now our openening should have 5 stitches around it, these will be what we use for our next two rounds.
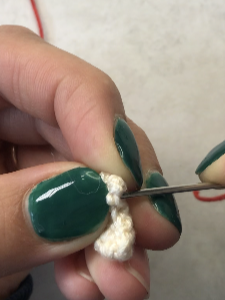
Round 4: 5 sc (5)
Round 5: 5sc (5)
slst, tie off, Cut yarn leaving a long tail for sewing.
Sew your long tail through each of your stitches with a yarn needle, pull the top closed. Tie off yarn and use your needle to pull your yarn through the top of your chicken out the bottom, through the magic circle hole.
Clip it off
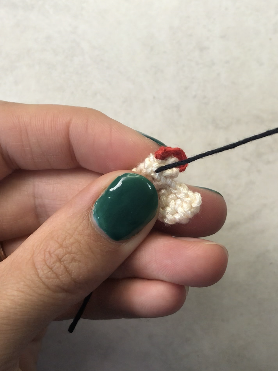
Chicken Comb
Work a slip knot on your Hook in your Red Embroidery thread leaving a few ich tail.
Chain 3 slst and tie off leaving a long tail for sewing. Thread your needle with your long tail and stick the needle through the back of the chickens head.
Stitch one end of your chain to the back of the chickens head. Stick your needle through the back of the chickens head to the front of the chickens head. And stitch the other end of your chain to the front of the chickens head. Tie off.
Use your needle to pull both your red ends of your yarn into the head, through the body, and out the bottom of your chicken.
They should exit out the center of our magic circle from the beginning of this pattern. Square knot the two ends together right at the base, clip the ends off then push the knot into the magic circle hole back into the body.

Chicken Eyes
Thread 7 ish inches of black embrodiery thread onto your yarn needle. We are going to insert our needle in through the bottom hole of our chicken, and we want the needle to exit the chicken in the spot where we want to place our first eye.
Somewhere on the side of the head looks best. We then want to put our needle in the next stitch over, and directly through the chickens head to the other side . Then insert your hook again into the chicken body a stitch over from where you currently are, and lead your needle back out the magic circle hole.
Both ends should be coming out the bottom of our chicken. Square knot the two ends together clip the ends and push the knot into the Magic Circle hole
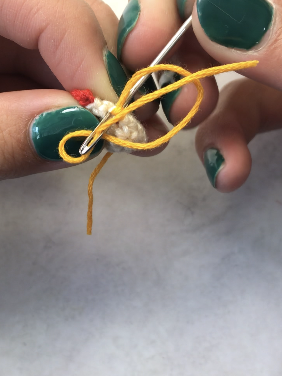
Chicken Beak
Thread 7 ish inches of your yellow color onto your needle.
Insert hook again through the bottom of your chicken. Exit your needle on the front of the chickens face just below the eyes.
Then thread the needle into one side of the chickens face and out the other several times to create the beak. Then insert your hook back into your chicken on one end of the beak and out the bottom. Square knot your ends, cut them off and push the knot back into the chicken.
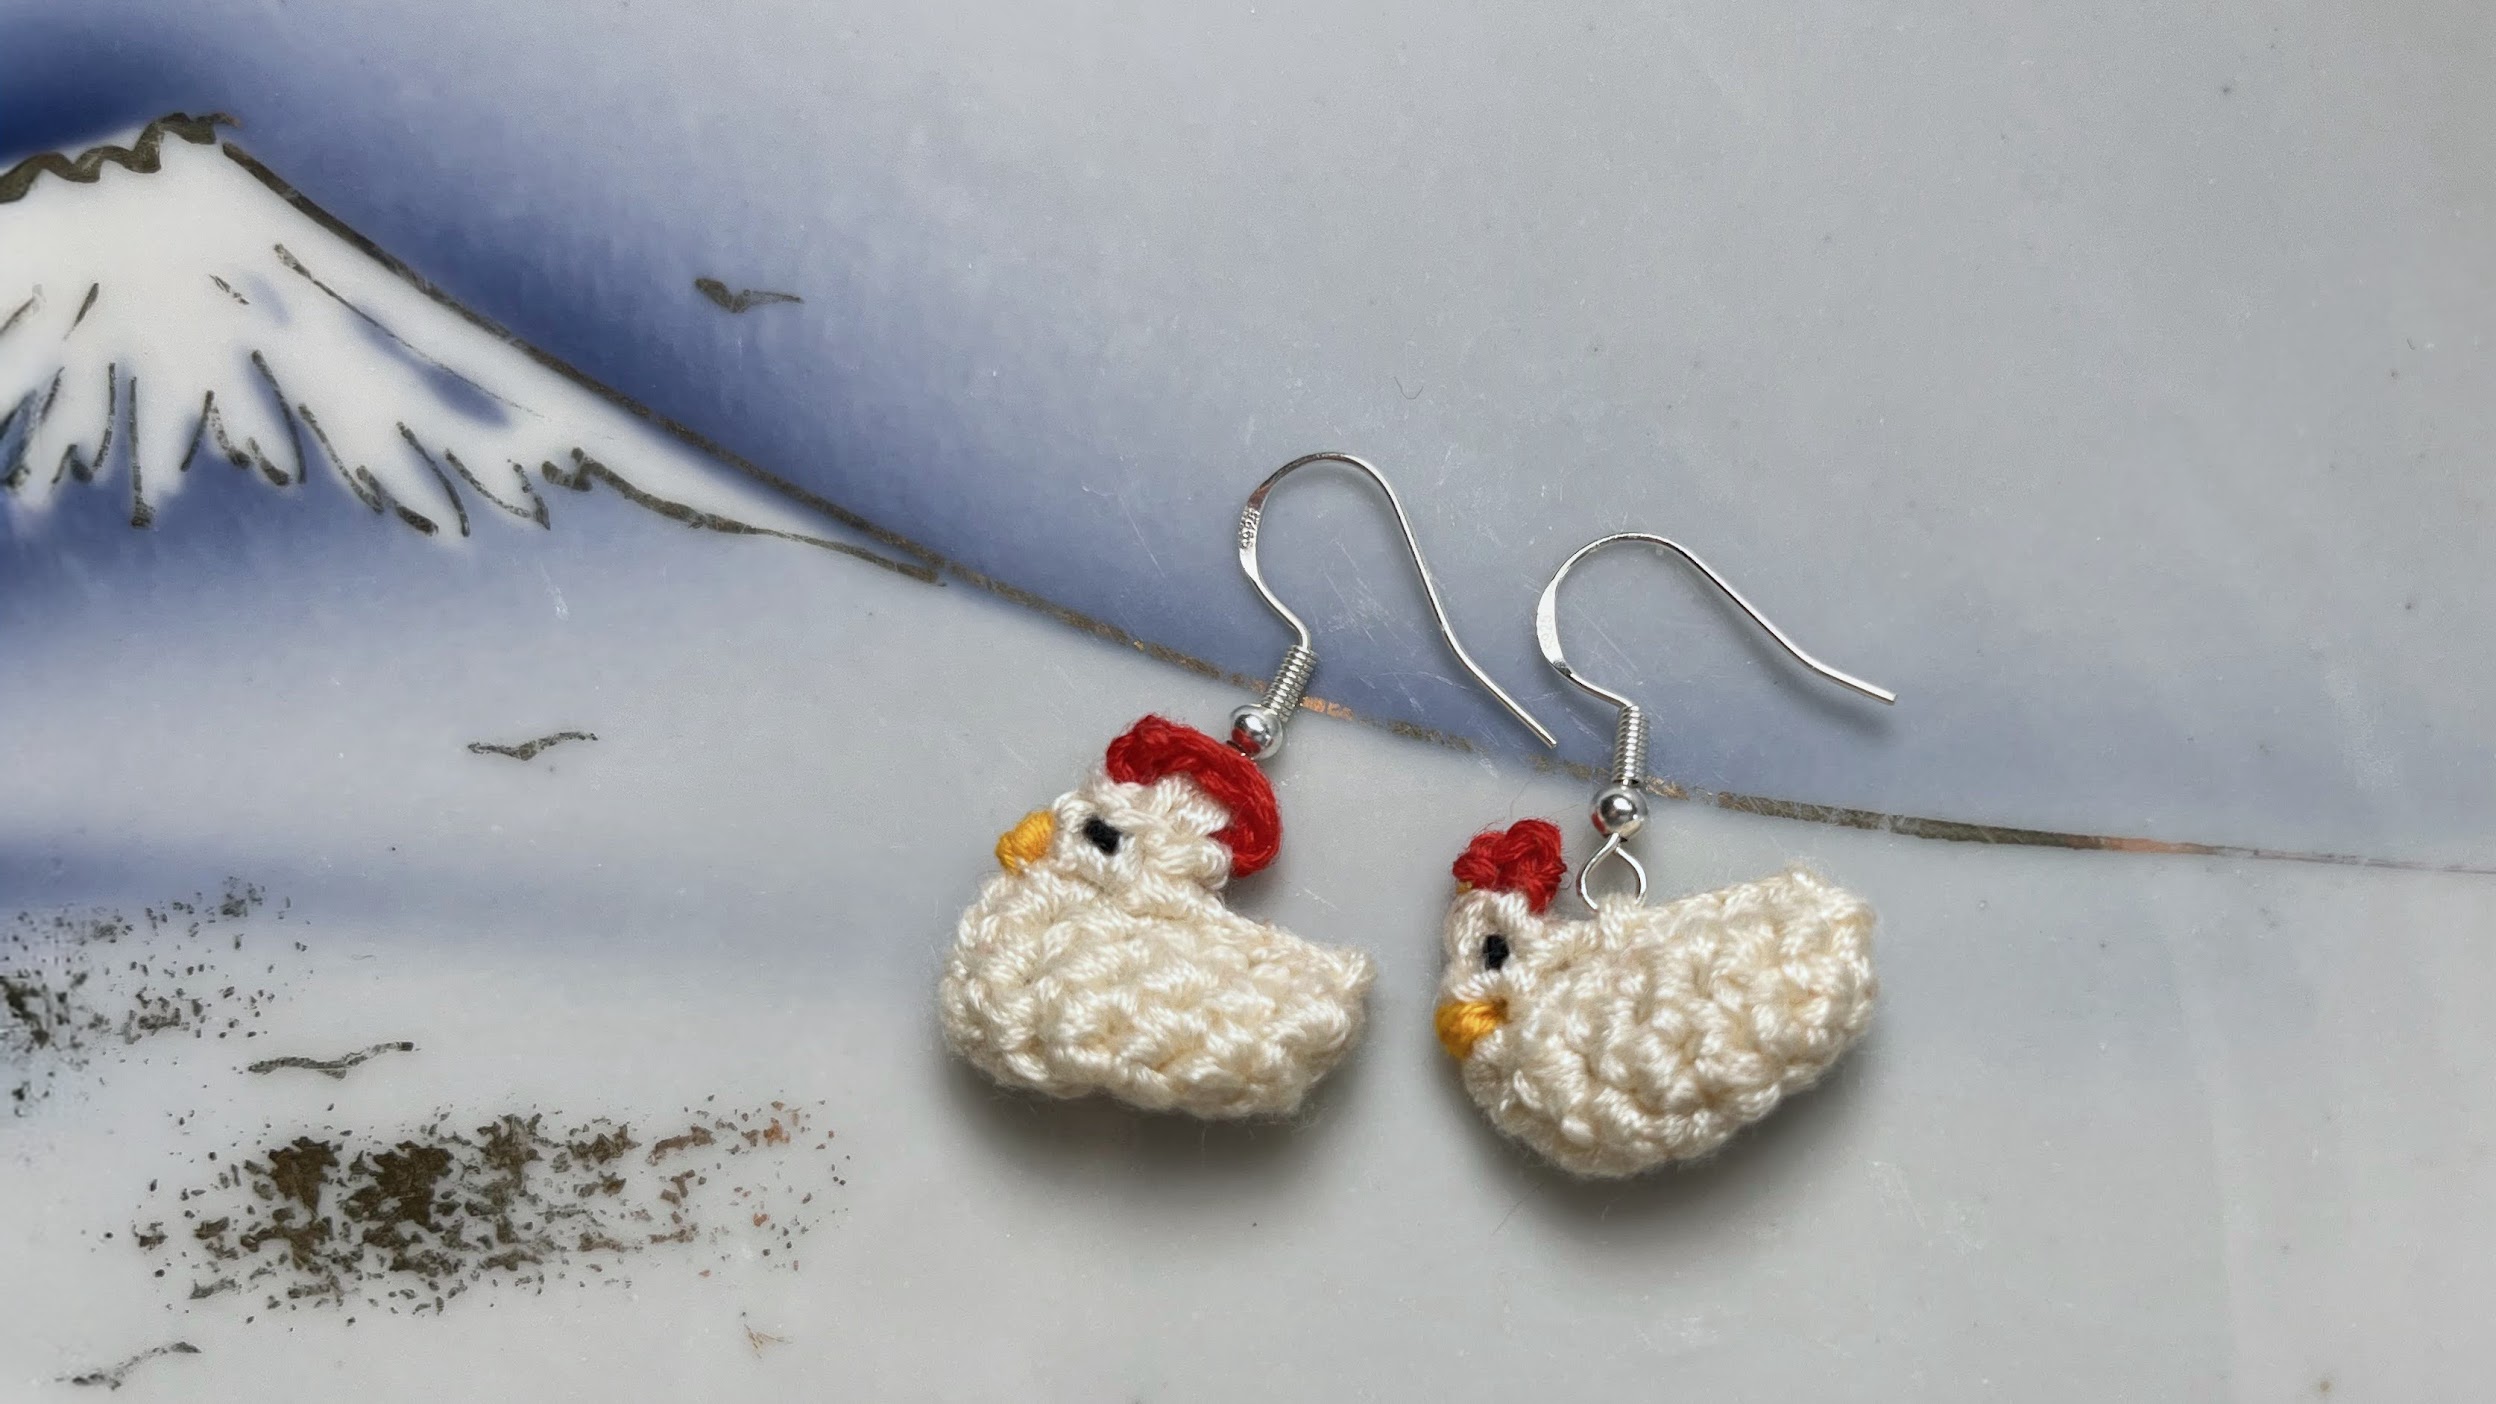
Head back up to the top and make a second earring! Then you will have a lovely pair of custom earrings.