Simple Days Baby Bonnet Crochet Pattern
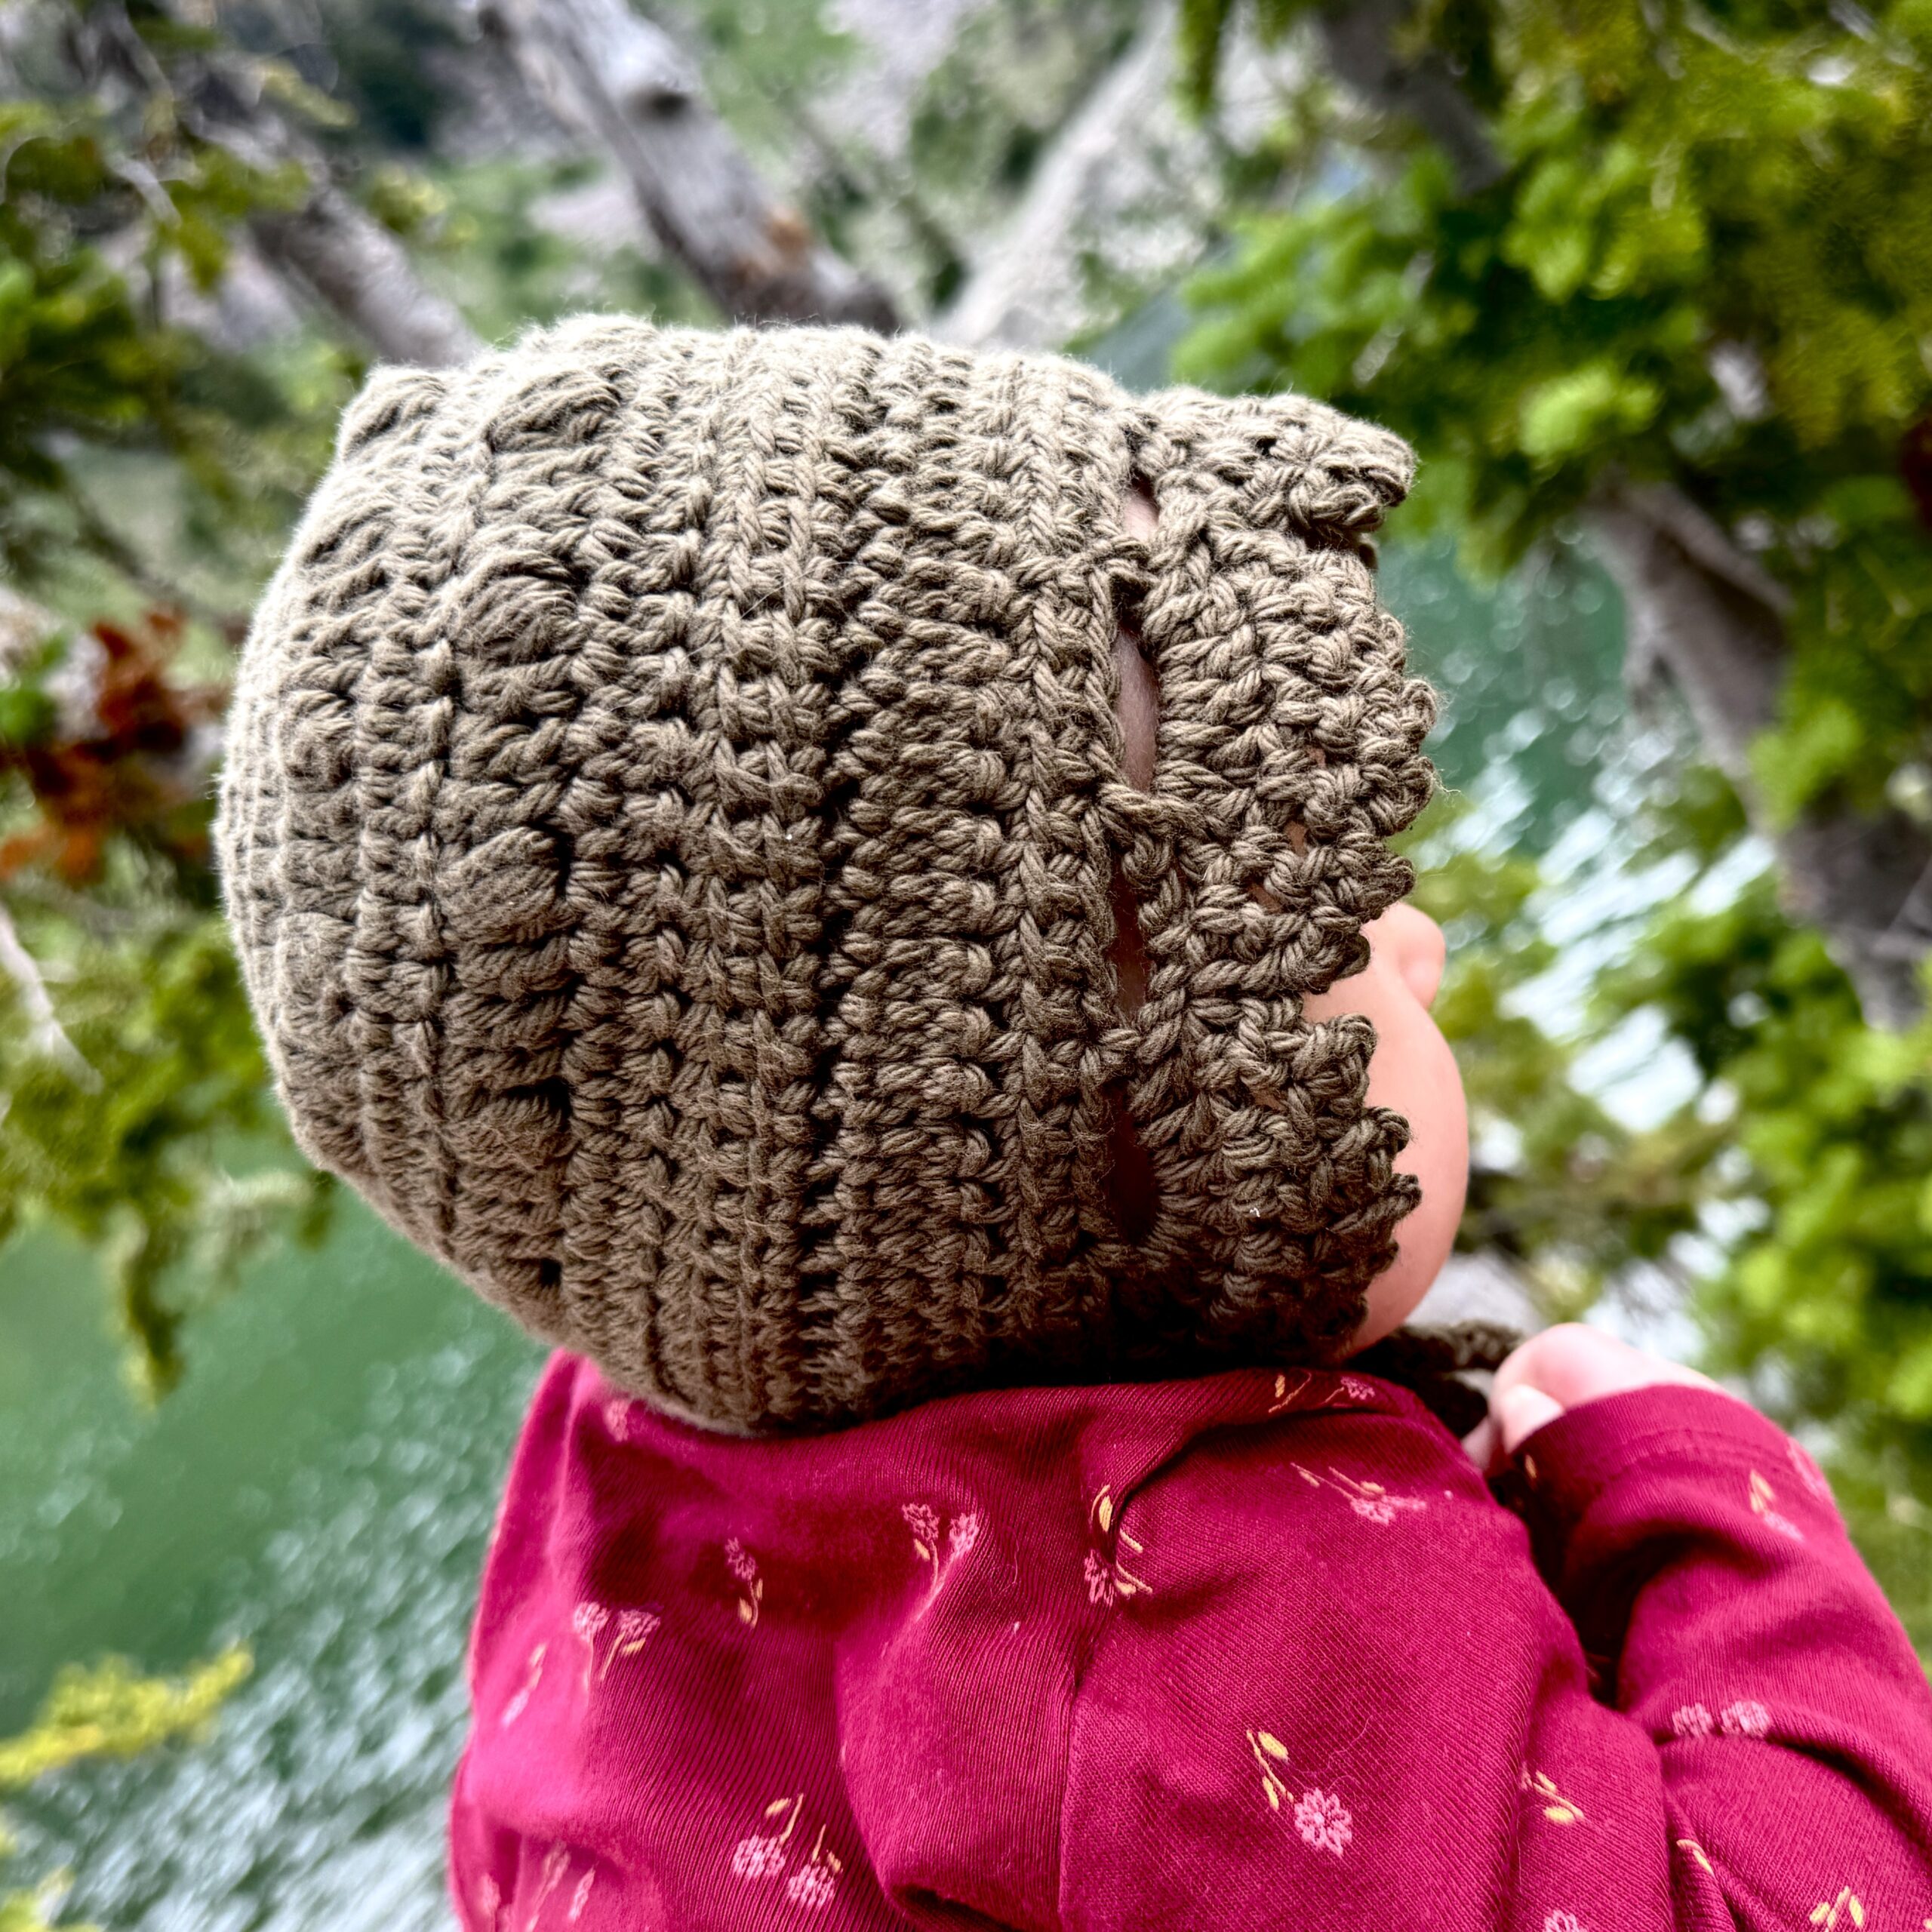
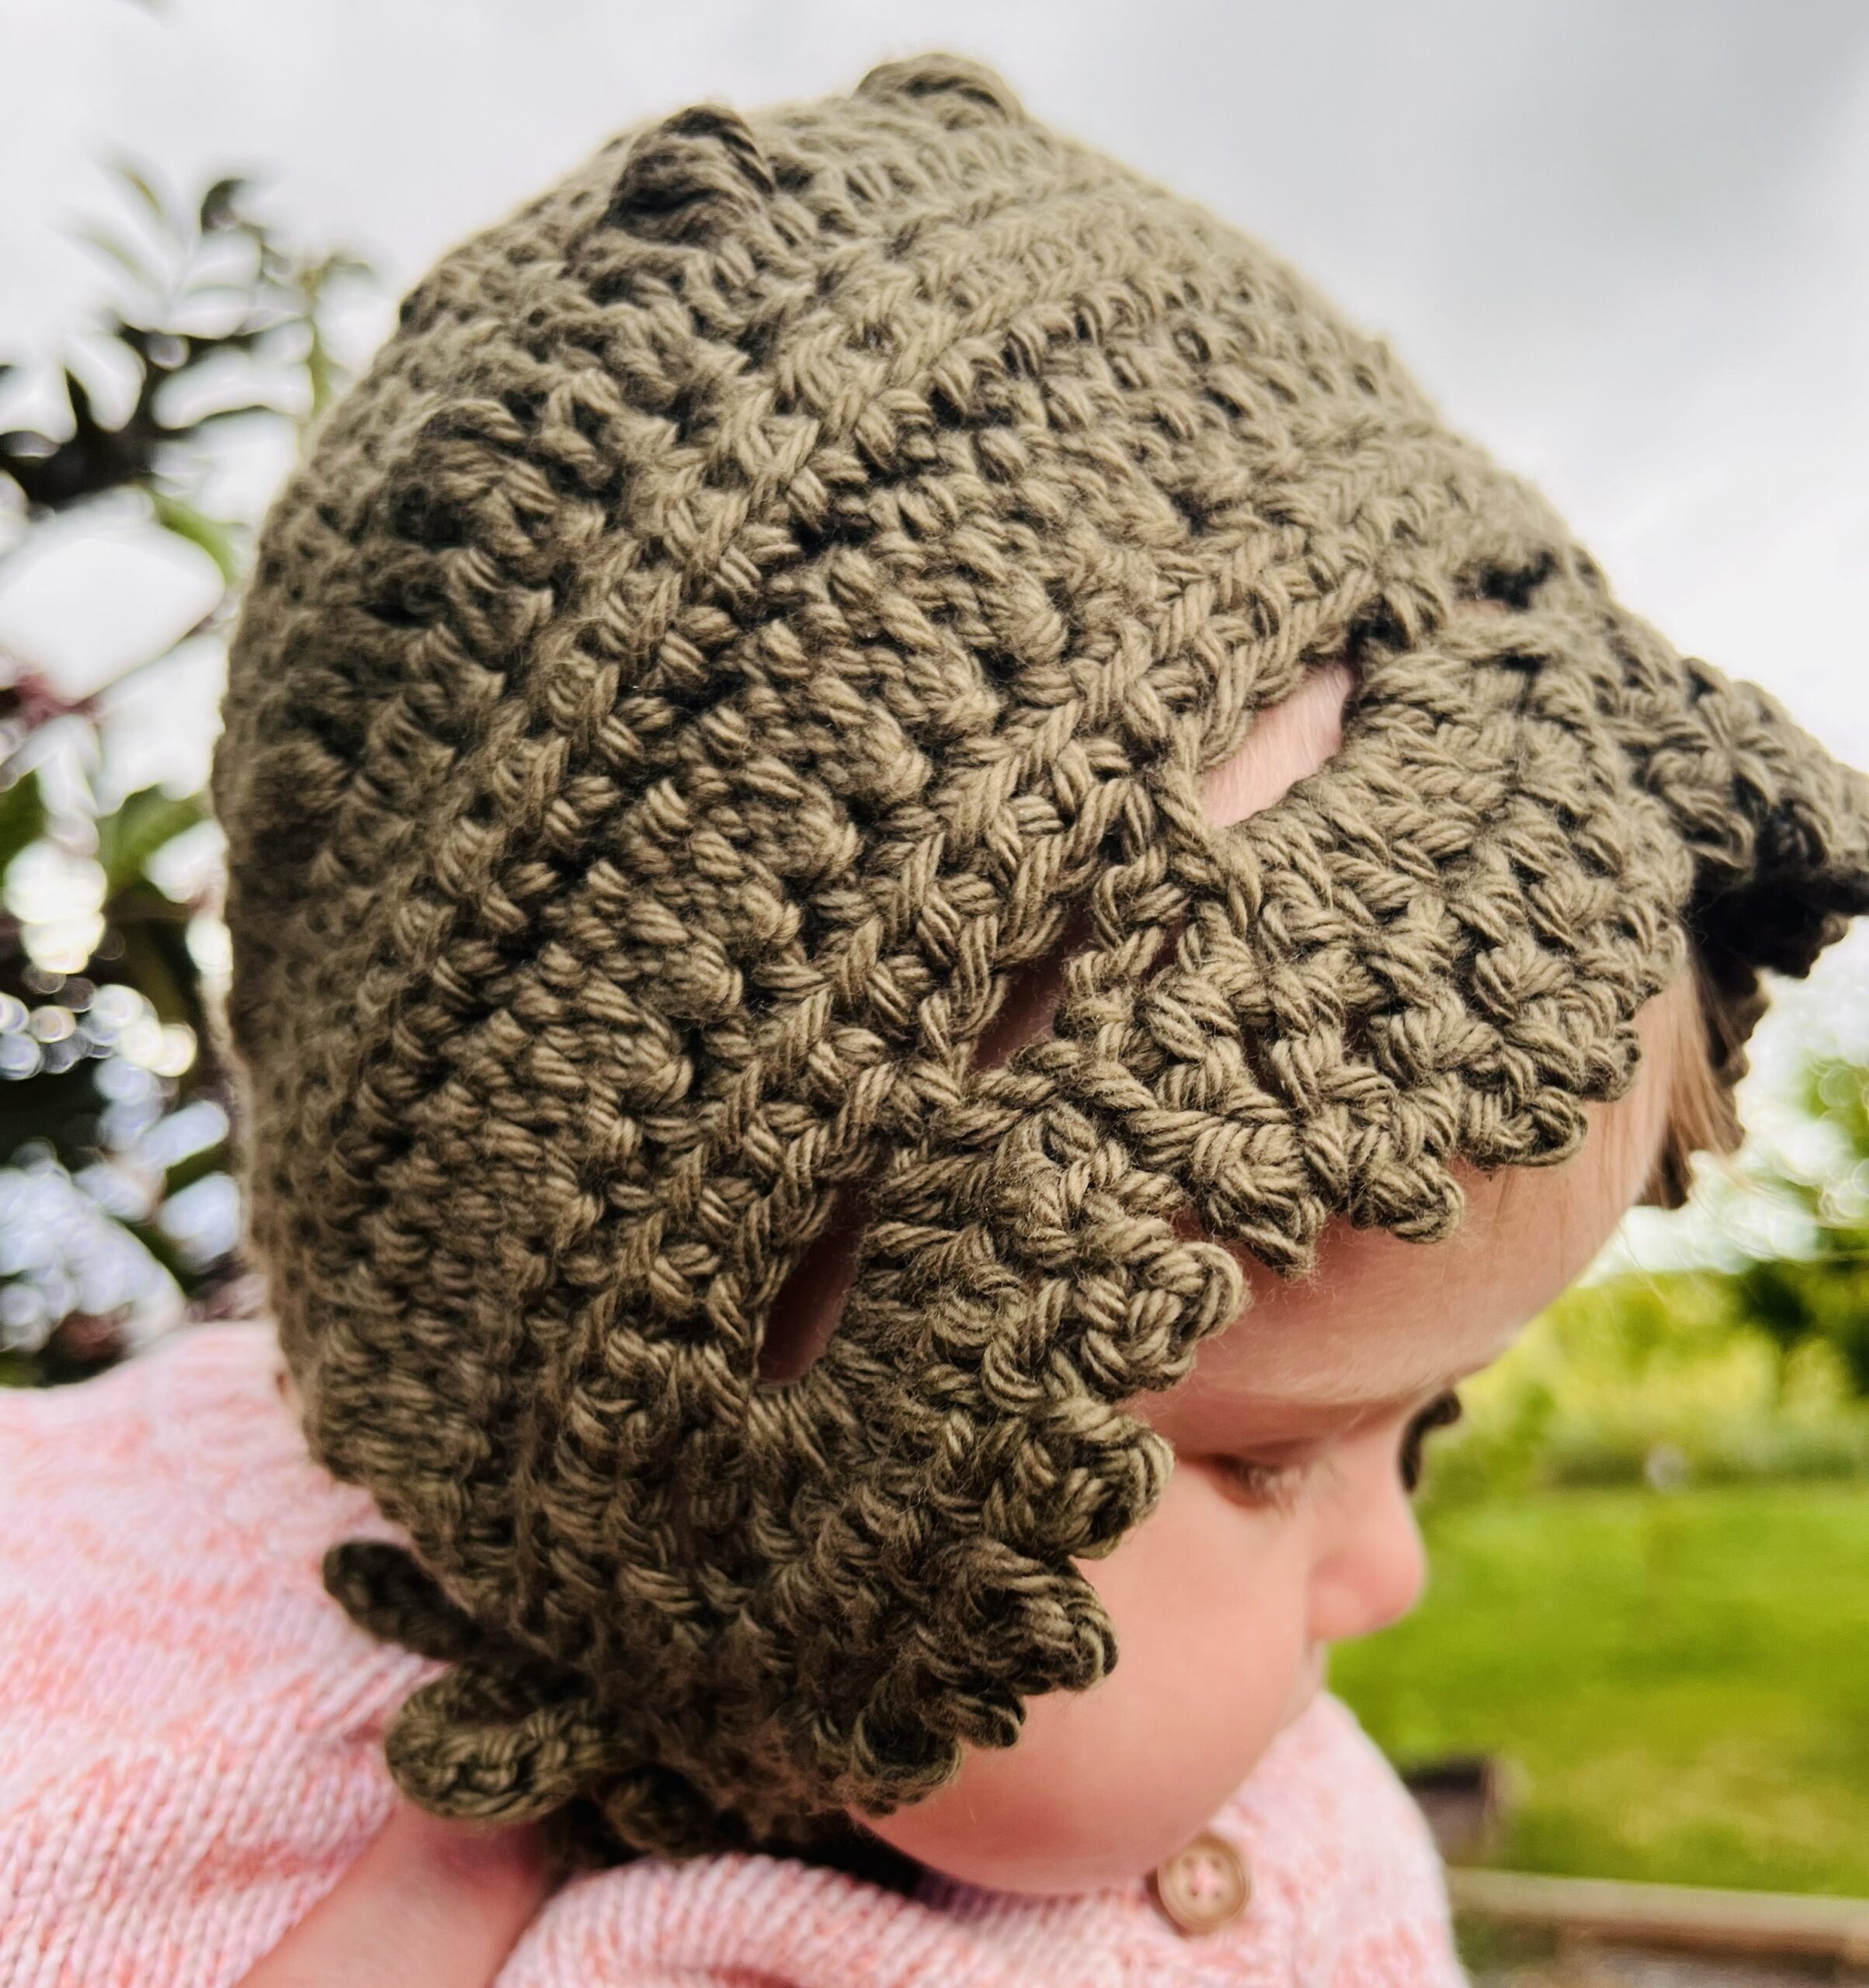
This Crochet Pattern will teach you to make the Simple Days Baby Bonnet. After you make one it wont be long before you have them in every color.
Better than Bows
With my first baby I was given, and im not even joking here, over a hundred baby bows. I tried out many of them , they often come with outfits at the store as adorable little accessories. I think out of the whole lot there was about 3 of them that I liked that werent constantly falling off or squeezing the dickens out of her head.
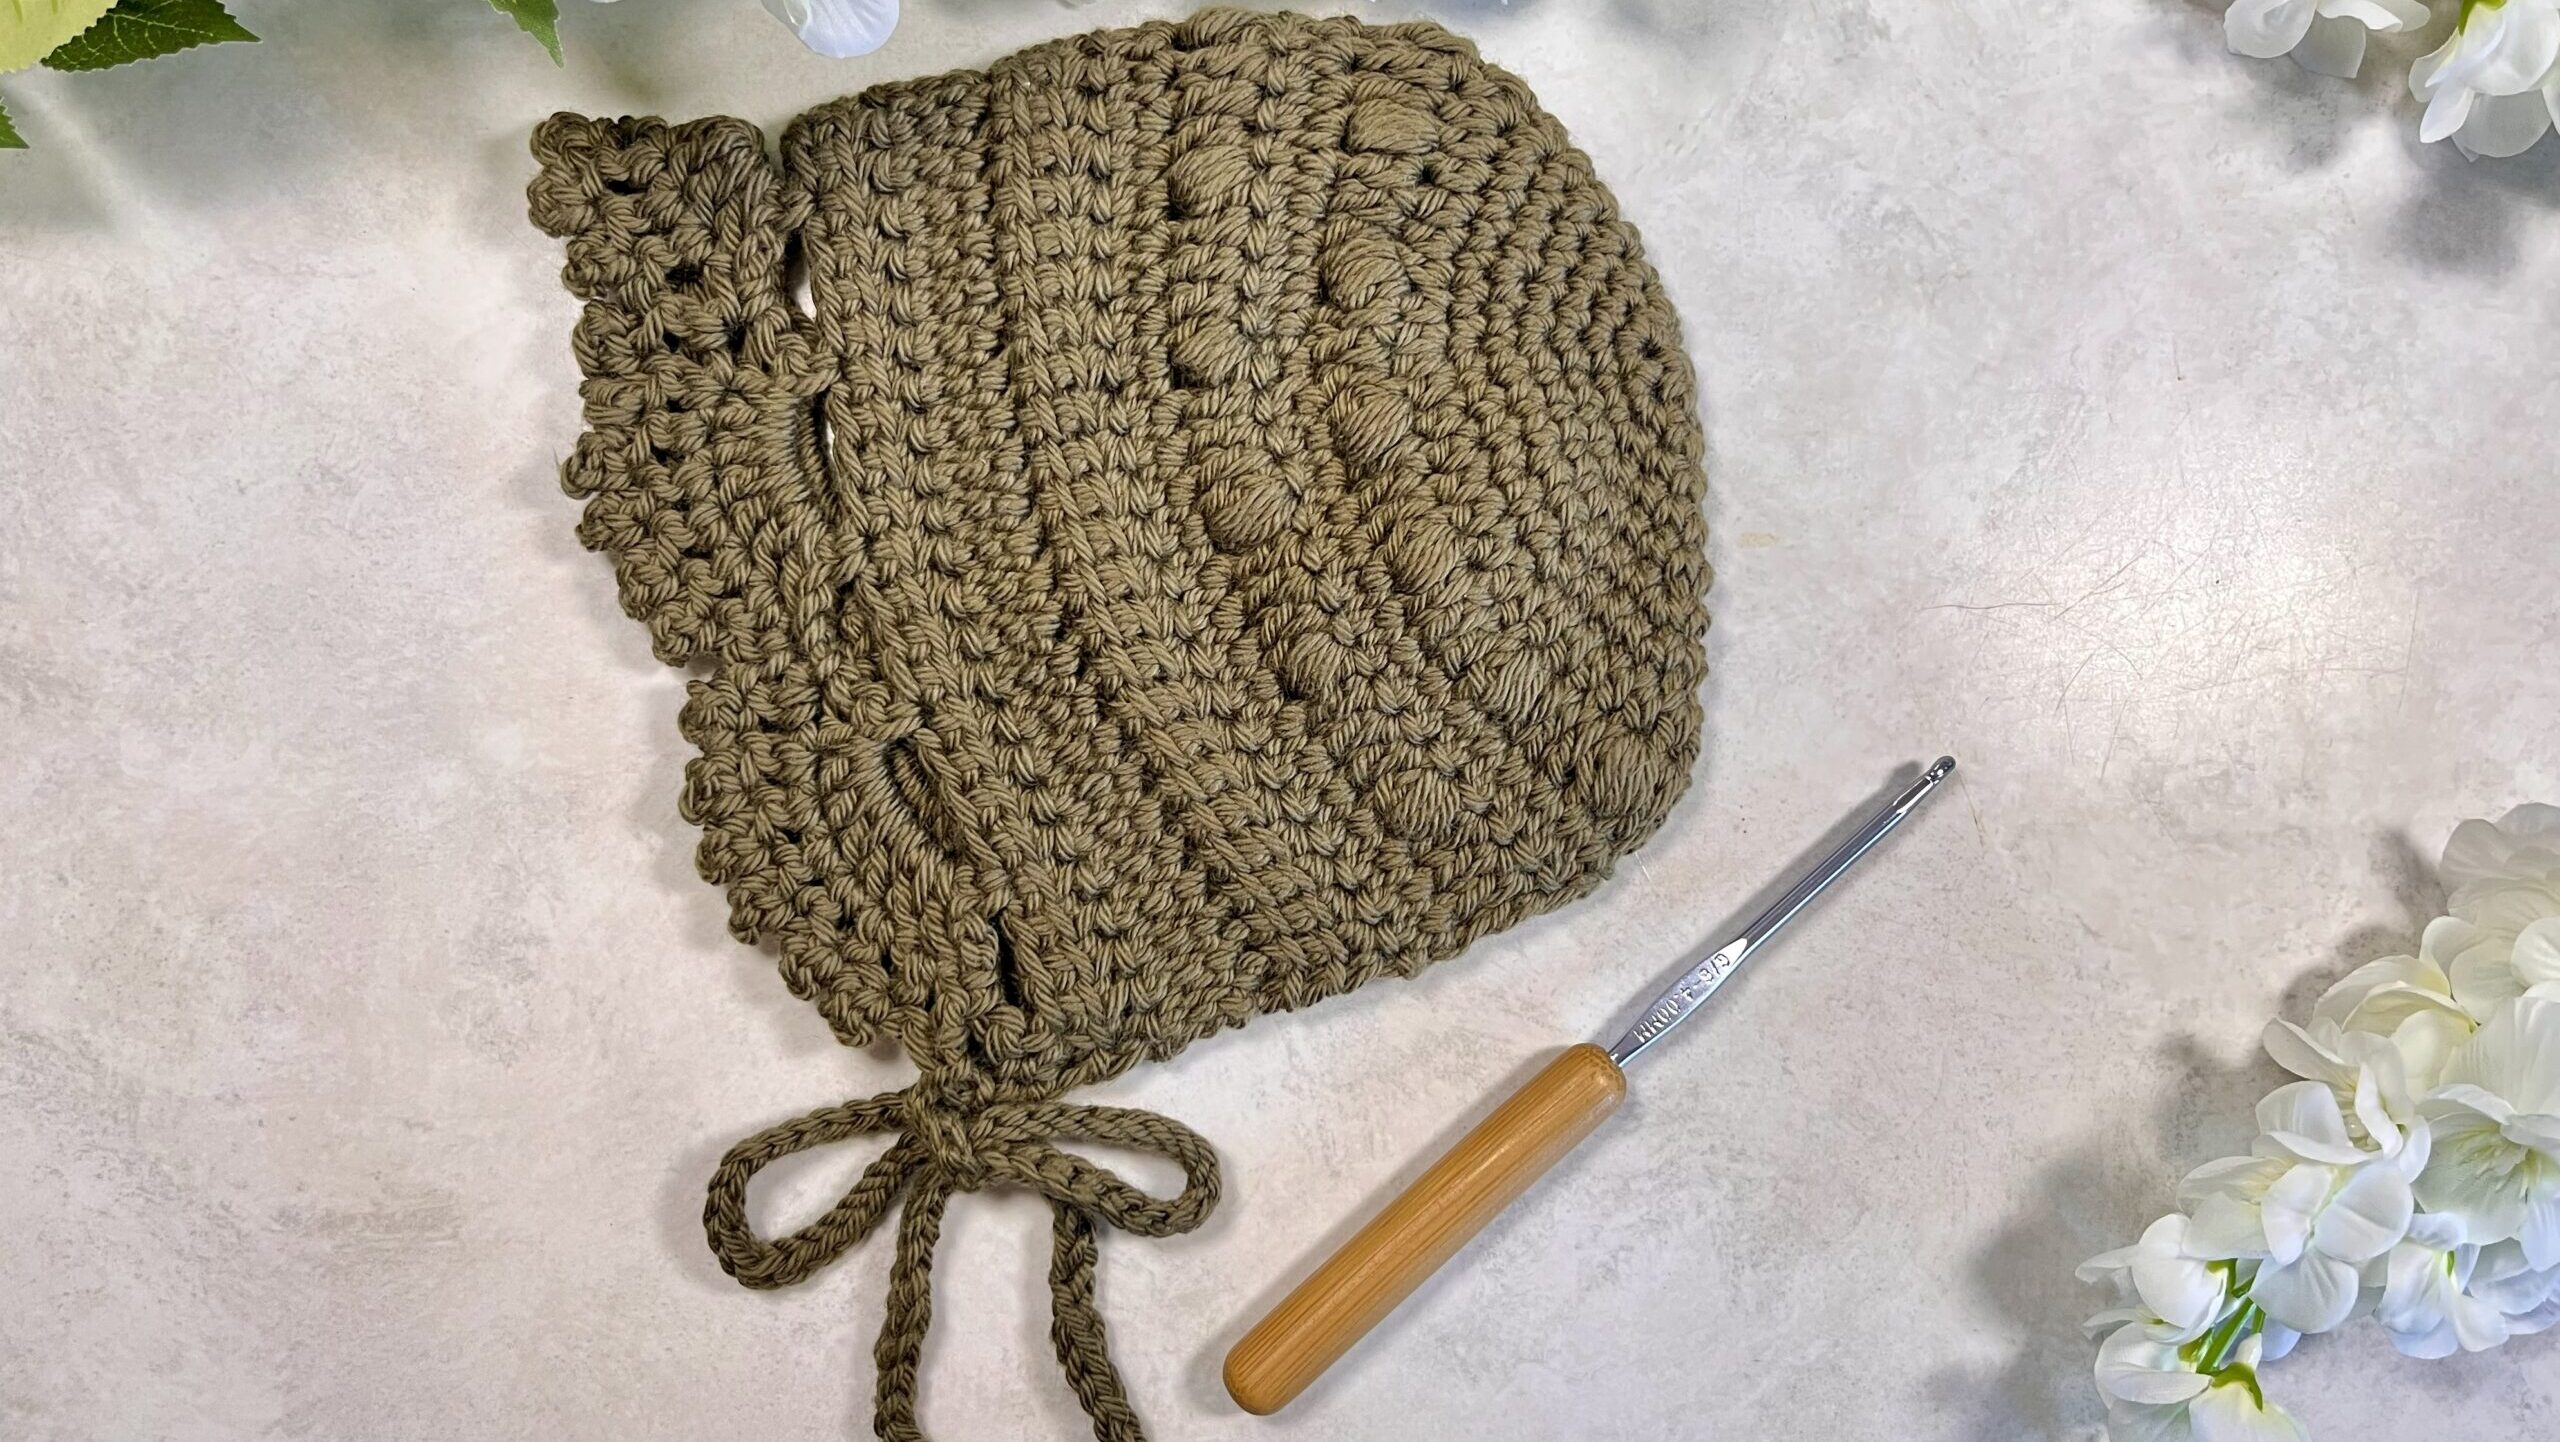
I just recently had my 5th baby who was the very next baby girl in our family and when she was born I was pulling all these adorable bows out of storage, and they were all brand new still becuase most of them had really only been worn once. Well it wasnt long after that I decided to make this little baby girl a little dress and hat. The hat I ended up designing was the start of the Simple Days Baby Bonnet. I spend several weeks just remaking this little bonnet to get it just right, and then BOOM! It was perfect....
I decided that I needed more, having the bonnet in Blue just simple was not enough, there were too many outfits that would go well with another color. So I made a pink one, then a green one, then a gray one, and on and on. Now we have bonnets just about everywhere, in just about any color. Why ?? Because they are just better than bows.
Why Are Bonnets Better?
Bonnets fill all the needs of bows and fix all their problems. Bonnets stay on, Bonnets look cute, Bonnets are a great accesory and add to any outfit. They cover weird bald spots. they protect from the sun, they keep baby warm. I am completely sold on them over these last few months. So I decided to write down my little bonnet pattern for you and share it here on my blog. I hope you love this bonnet as much as I do. So with all that Lets jump into the pattern! If you need additional help on this pattern I have a Youtube tutorial I will link here for you. Happy Crocheting!!
Simple Days Baby Bonnet Crochet Pattern Video Tutorial
Youtube
Simple Days Baby Bonnet TutorialAffiliate links
I will link all the materials I used in this Blog, all materials linked are affiliate links, if you use them I will make a small commission at no additional cost to you! Thank you so much! Making bits of extra income makes it possible for me to keep making these Patterns for all of you and its only possible from all your support. Thank you so much.
Crochet Pattern
Abbreviations
sc- Single Crochet
inc- sc increase
dc- double crochet
hdc- half double crochet
hdc inc- half double crochet increase
ps- puff stitch (yarn over, insert hook through a stitch and pull up a loop) x 4 times keeping yarn on hook, then yarn over and pull through all loops on hook. Then immediately start on next stitch with no additional chain
ch- chain
flo- front loop only
blo- back loop only
ldc- linked double crochet
ltc- linked treble crochet
p- picot (ch3 , then slst back into the top of the stitch they are on)
Pattern Notes
The back portion of this bonnet is made with sc in continuous rounds. After the back we will start to turn and do rows, and that’s where the bonnet will split and go around the head.
0-6 Month Baby Bonnet
Magic circle 6sc inside then pull tight
Rd 1: (inc) x 6 (12)
Rd 2:(sc, inc) x 6 (18)
Rd 3: (2sc, inc) x 6 (24)
Rd 4: (3sc, inc) x 6 (30)
Rd 5: 2sc, inc, (4sc, inc) x5, 2sc (36)
Rd 6: (5sc, inc) x 6 (42)
Rd 7: (6hdc, hdc inc) x 6 (48)
Now you will slip stitch back into your first stitch, ch 2, turn
This is the point in the Bonnet that we will stop working in rounds. We jsut turned and now we will work back the other way.
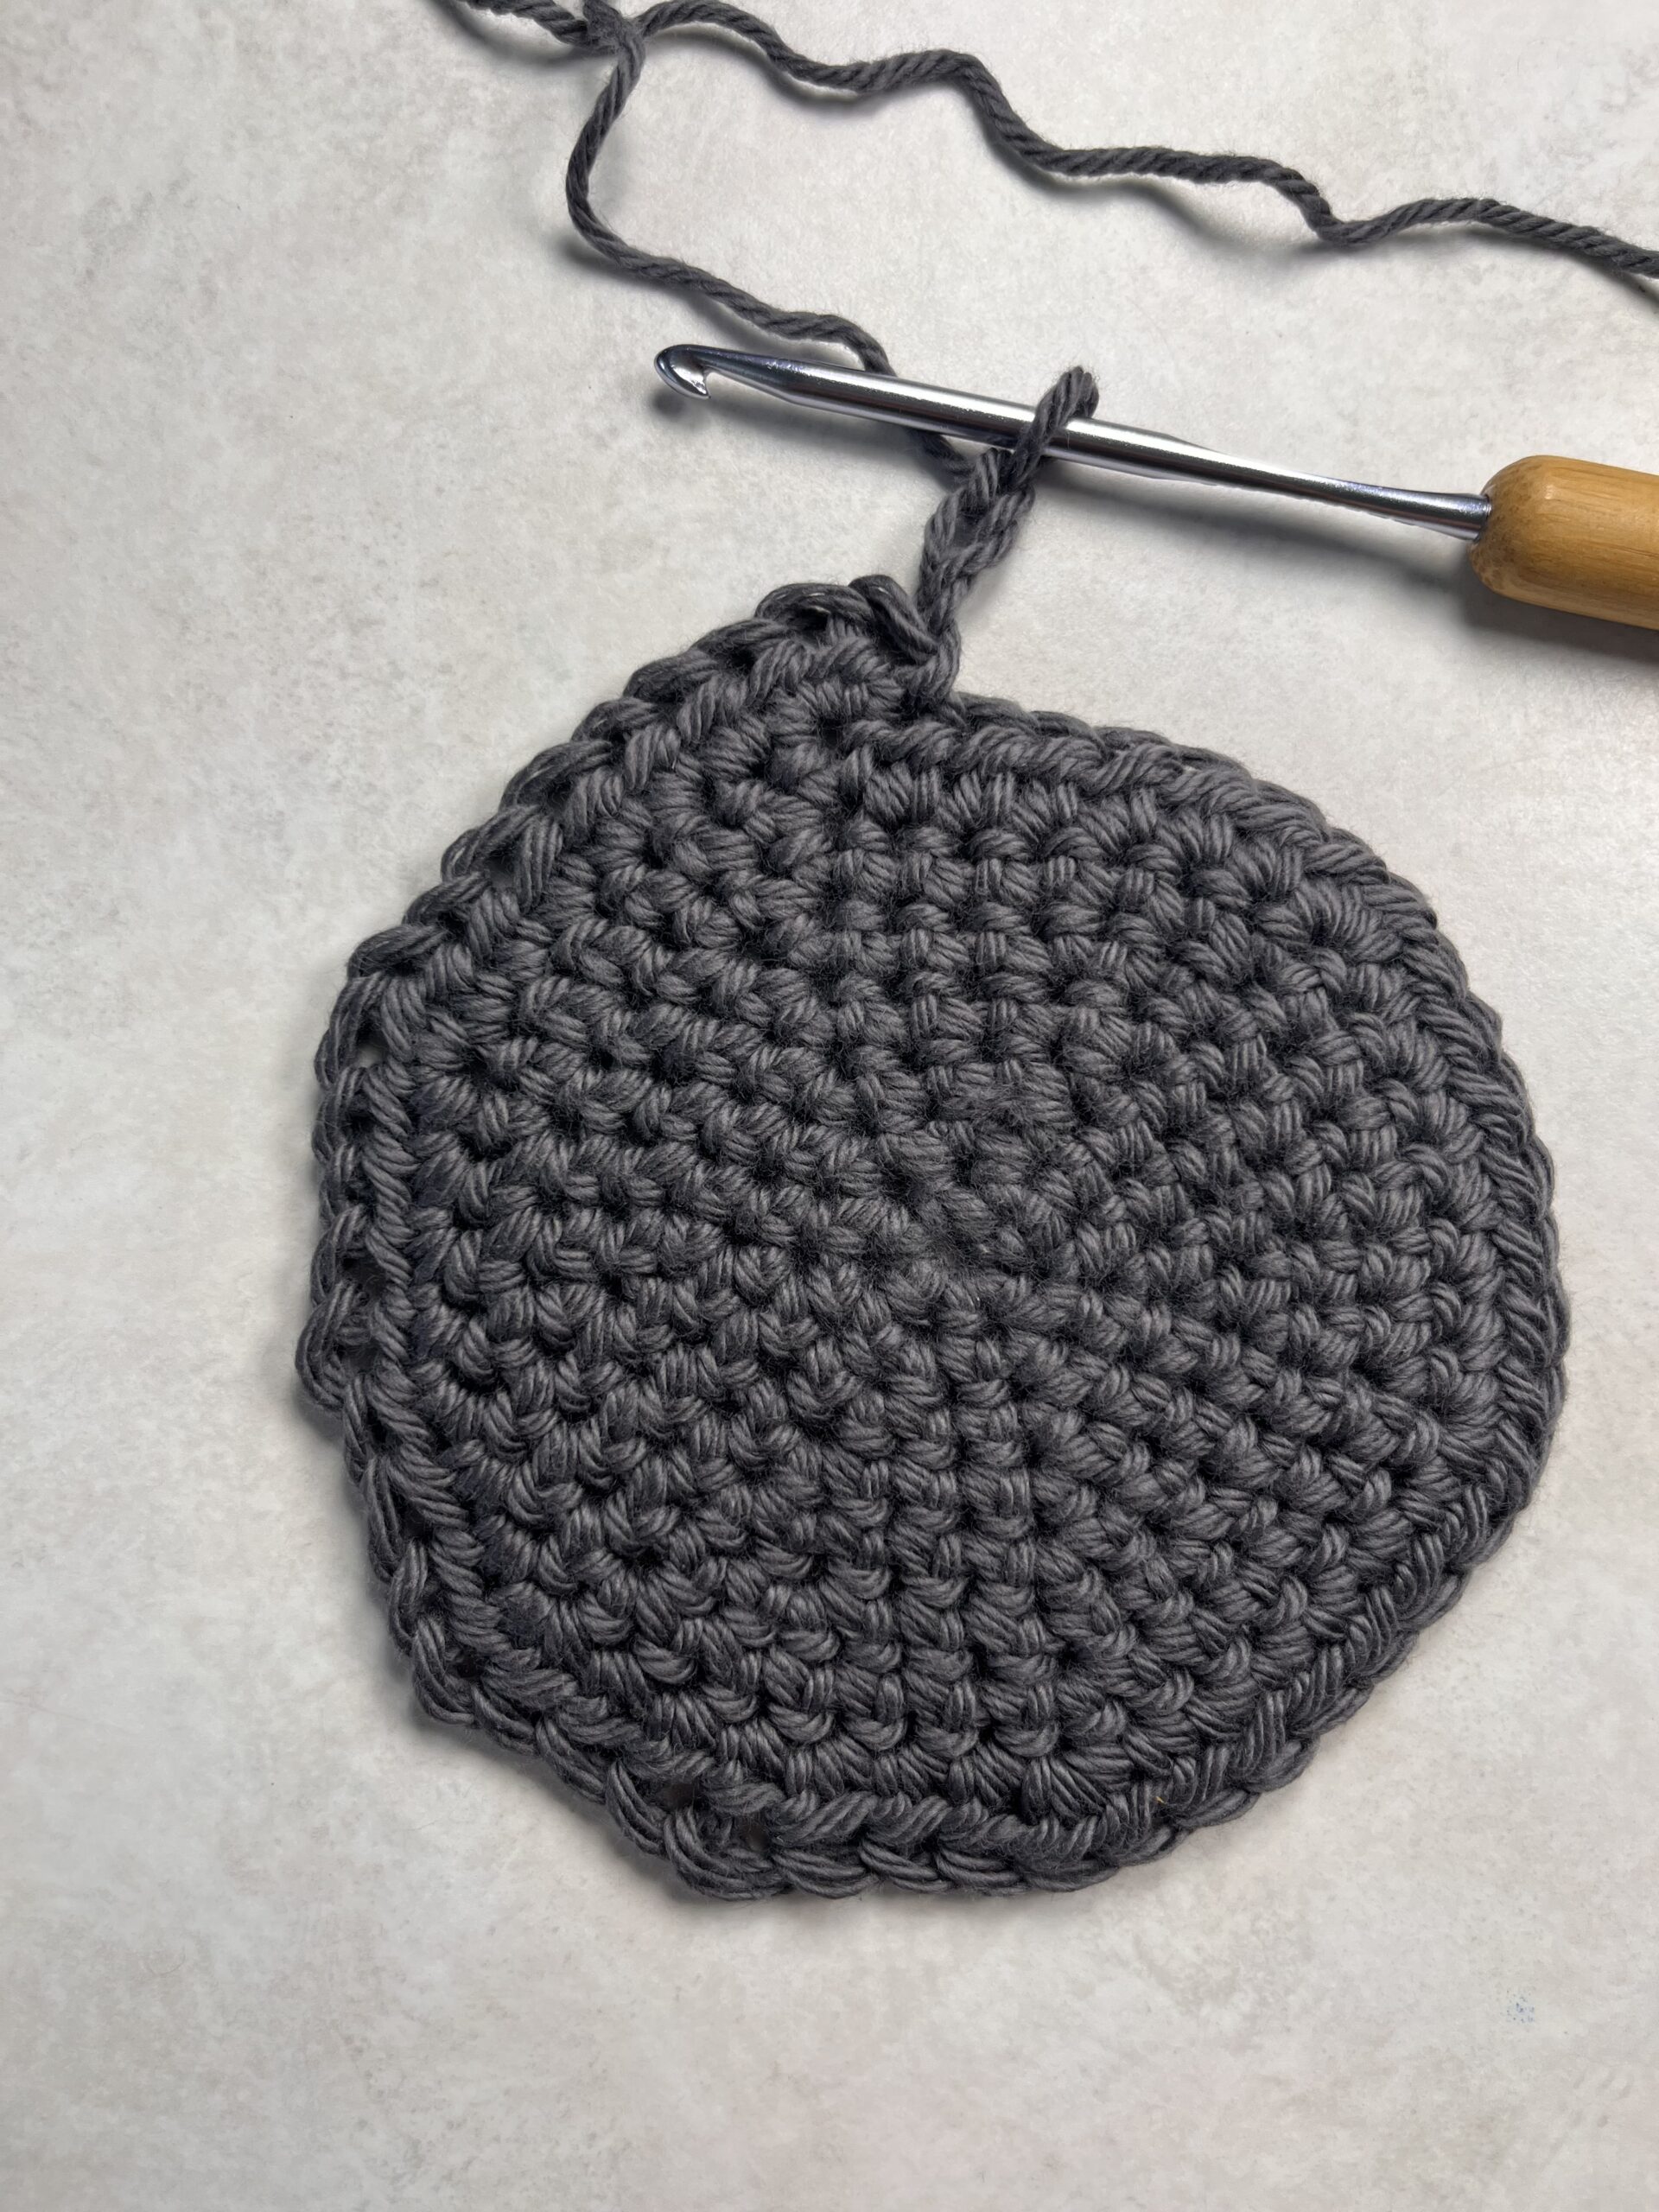
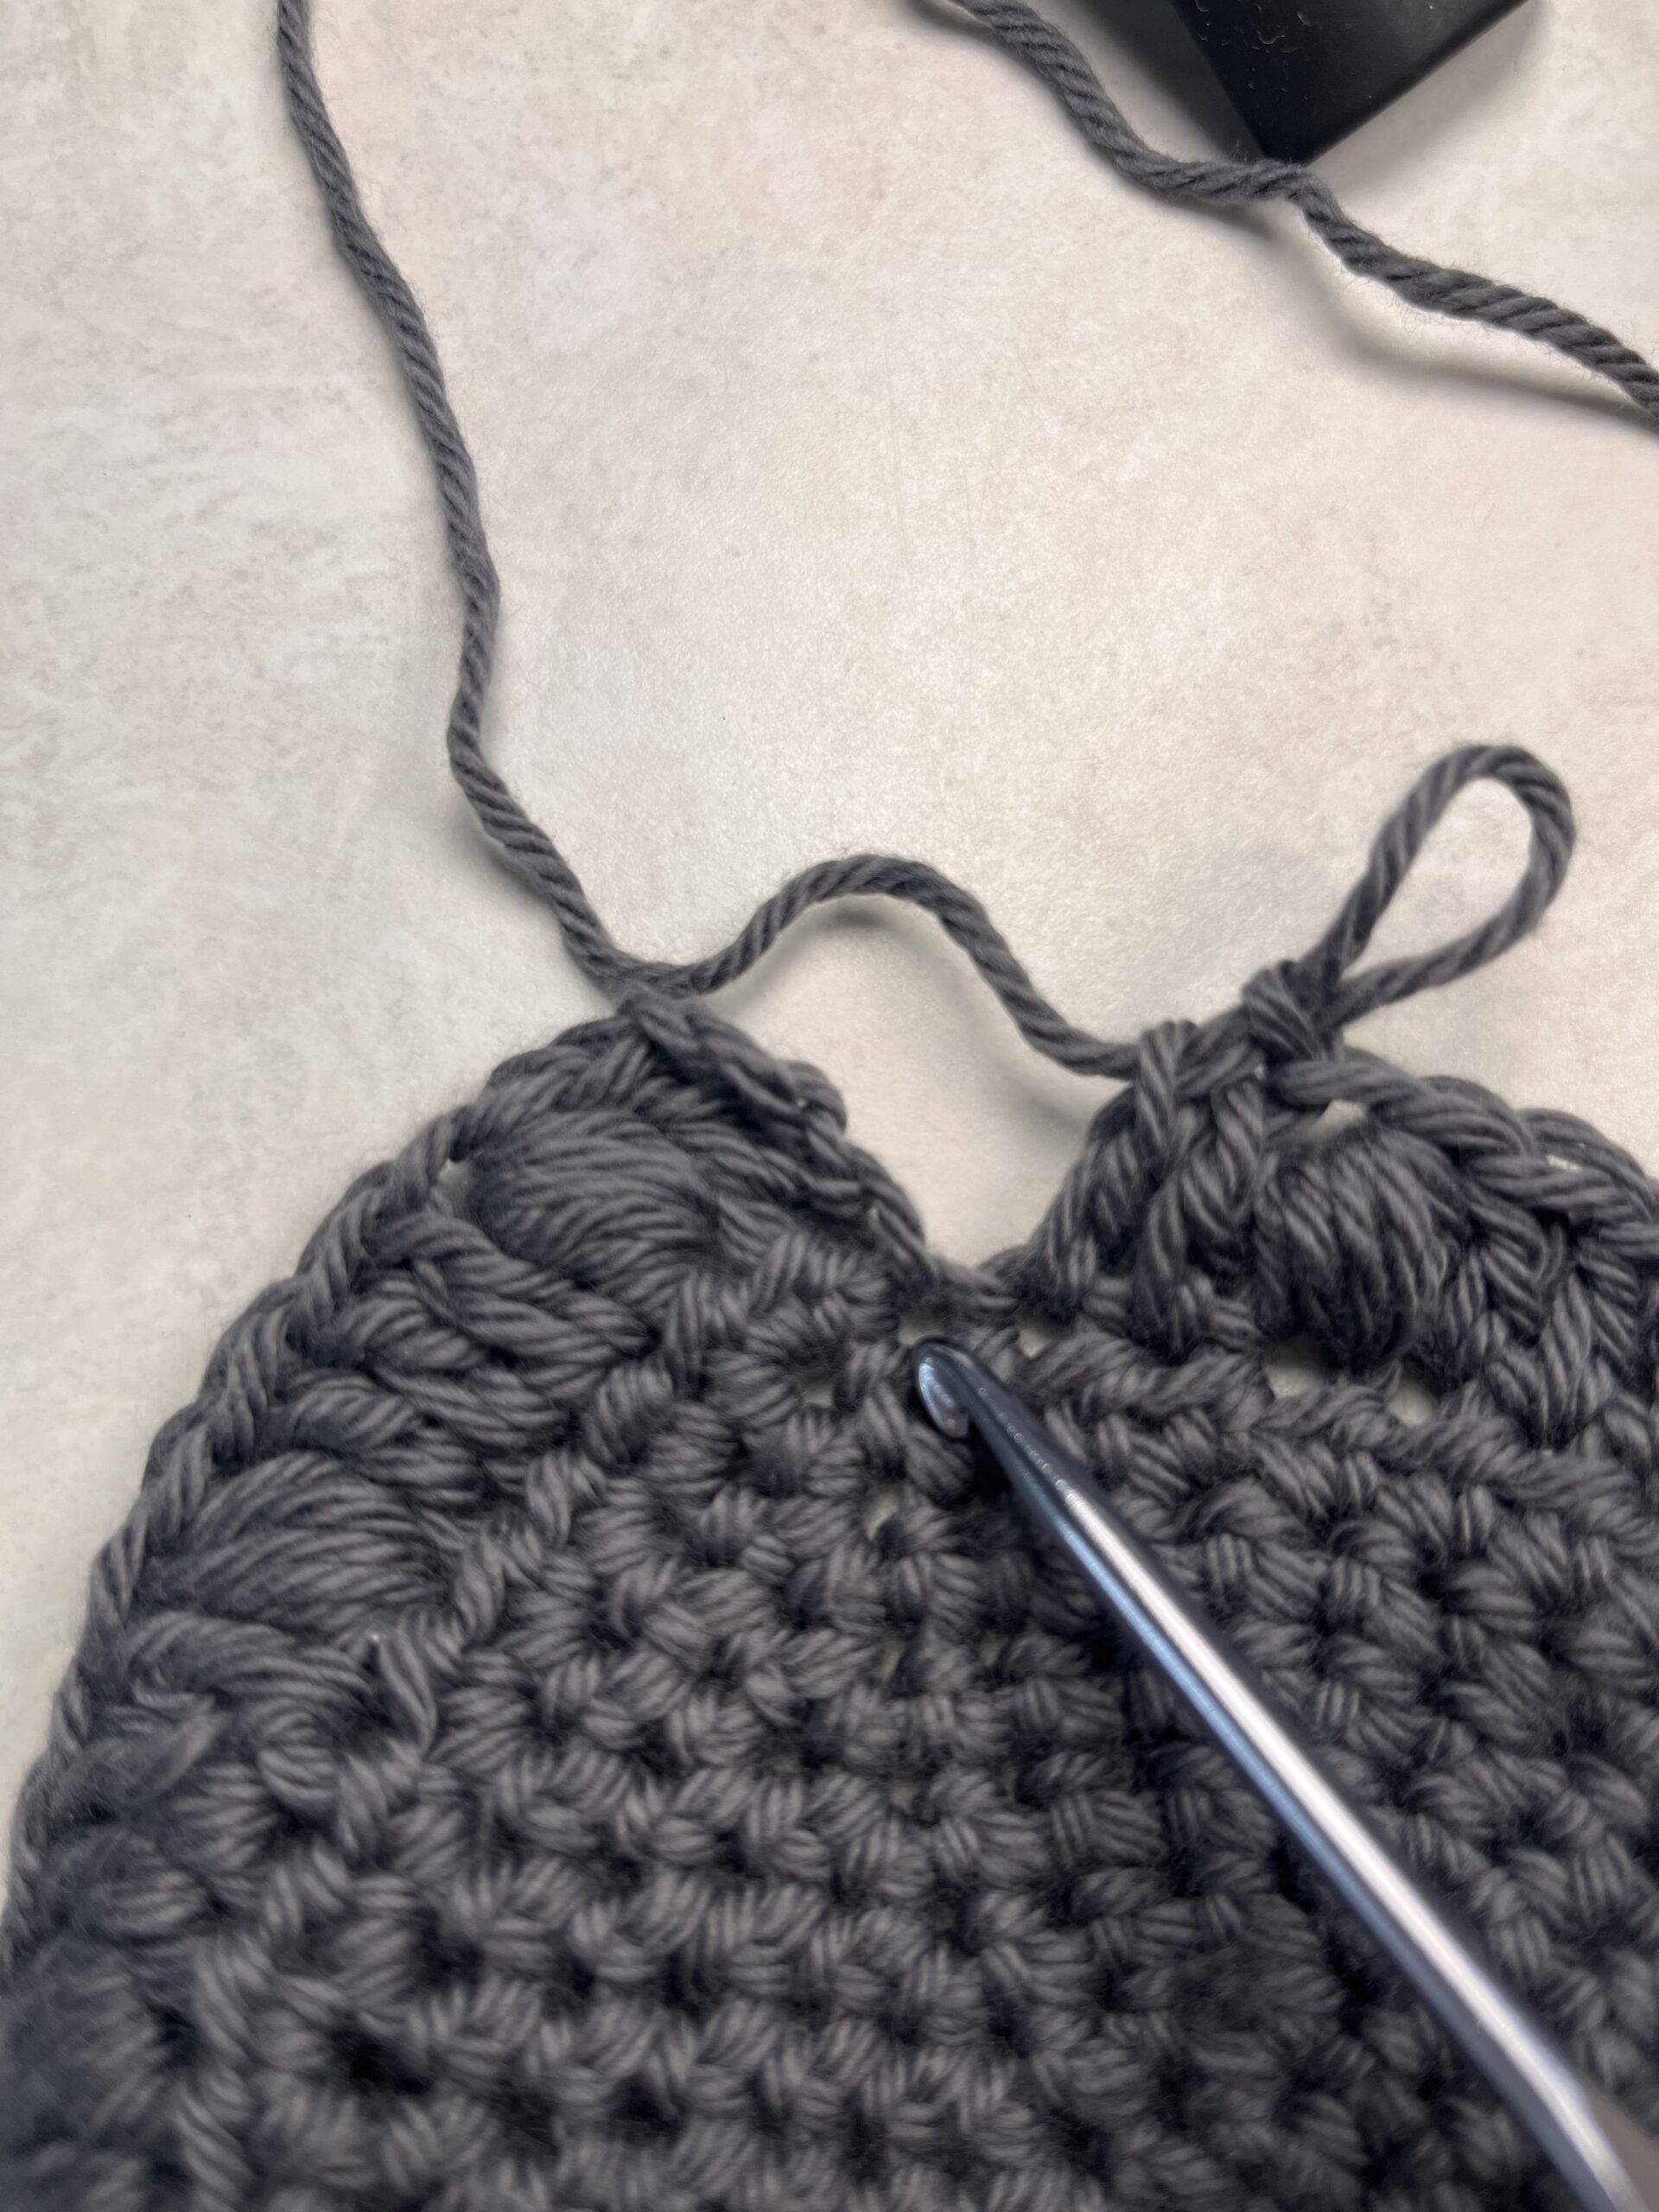
Rd 8: 1dc, ps, (3dc, ps) x 11, 2dc (your last stitch should go into the same stitch your ch2 came out of at the beginning of the round. See photo on bottom right.)
R 9: turn, chain 2, 48 ldc (48) turn
R 10: ch2, 4dc, (ps, 3dc)x11 (48) turn
R 11: ch 2, blo 48 linked double crochet (48) turn
R 12: ch 3, 48 ltc (48) turn
R 13: ch 2, blo 48 ldc (48) turn
R 14:ch1, 2sc, (ch4, skip 3, sc)x 11, 2sc turn
R 15: ch 2, (sc into ch space, then do 7dc into the next ch space)x 5, sc into chain space, ch 2, sc into last stitch. Turn
R 16: ch1, sc Into space, *dc into first stitch of fan, ch3, and slst back into the top of the same dc to make a picot. Repeat this process into the next 5 dc stitches of the fan. For the last stitch of the fan do a Double crochet but don’t do a picot on top. Sc into the next stitch between fans.* repeat steps between ** for all 5 fans. After your last fan, sc into final chain space.Slst, tie off, and weave in ends
Simple Days Baby Bonnet Crochet Pattern Ties
This is the instructions for making the Ties on both bonnet sizes. The ties are exactly the same for both sizes. This method below shows you how to make one tie and you just repeat the directions on both sides of the bonnet. If you are struggling with these directions, Please Check out my Youtube Tutorial for this bonnet. The next size of bonnet will begin just after the instructions for these ties.
First Measure out 10 feet of yarn and cut it, then fold that length in half. Put your hook through the ch 2 space pictured below. Grab the folded end with your hook and pull through the chain space
Hold your upper strand of the Yarn like Normal, and lay the other one across your hand and grab it with your two bottom fingers. Making a triangle shape with them.
Yarn under the strand on the bottom being held by your two fingers. Yarn over the upper strand.
Pull that upper strand of yarn through the two loops you have on your hook. Repeat all steps, for the rest of your ten feet of yarn
6-12 Month Baby Bonnet
Magic circle 6sc inside
Rd 1: (sc inc) x 6 (12)
Rd 2:(sc, inc) x 6 (18)
Rd 3: (2sc, inc) x 6 (24)
Rd 4: (3sc, inc) x 6 (30)
Rd 5: 2sc, inc, (4sc, inc) x5, 2sc (36)
Rd 6: (5sc, inc) x 6 (42)
Rd 7: (6sc, inc) x 6 (48)
Rd 8:(7sc, inc) x 6 (54)
Rd 9: (8hdc, hdc inc)x6 (60)
Now you will slip stitch back into your first stitch, ch 2, turn (we will now be working in rows)
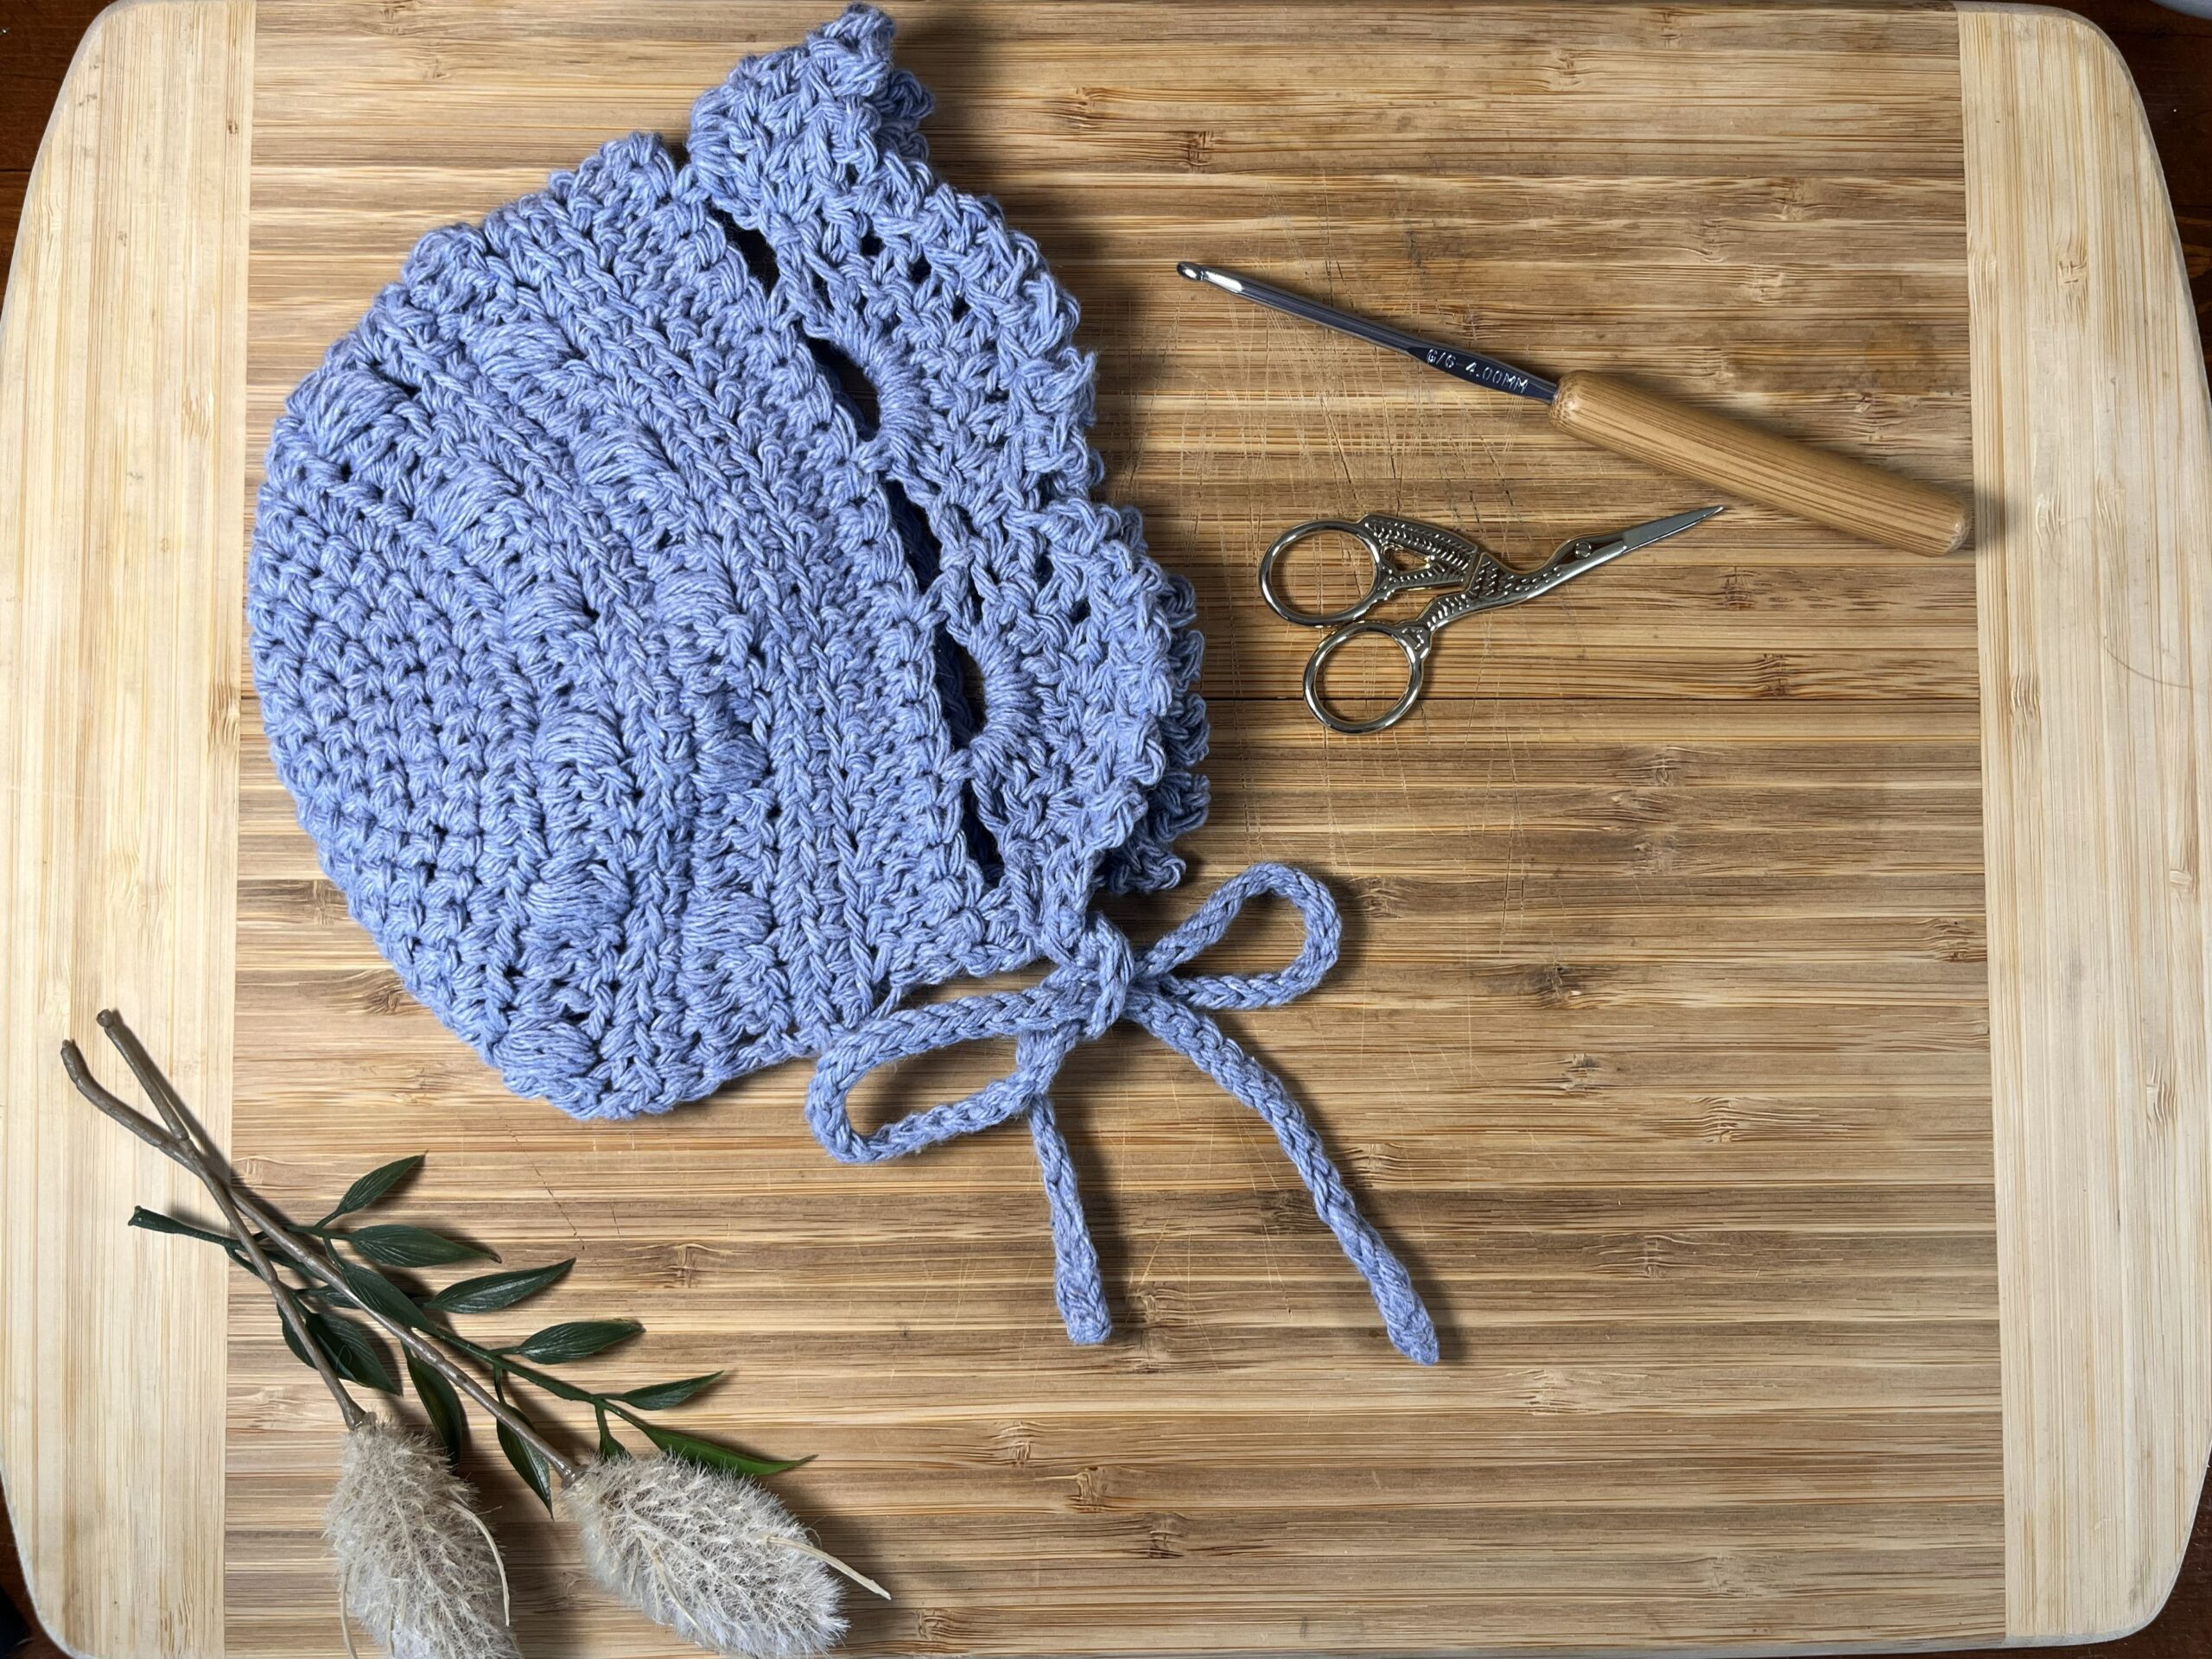
R 10: 1dc, ps (see abbreviations for puff details), (3dc, ps)x 14, 2dc (60) turn
R 11: chain 2 60ldc (60) turn
R 12: ch2, 4 dc, (ps, 3dc) x 13, 4dc (60) turn
R 13: ch 2, Blo 60 ldc (60) turn
R 14: ch 3, 60ltc (60) turn
R 15: ch 2, Blo 60ldc (60) turn
R 16: ch 3, 60 ltc (60)
R 17: (ch4, skip 3, sc)X15,
R 18: ch2, (sc into next chain space, then do 7 dc into the next chain space) x 7, sc into the next ch space, ch2, slst into last stitch, turn
R 19: ch1, sc Into chain space, *dc into first stitch of fan, ch3, and slst back into the top of the same dc to make a picot. You should have 6 dc left in your fan, for the next 5 dc of your fan do a dc into each all with a picot on top. Then dc into last dc of your fan, but don’t do a picot on top. Sc into the next stitch between fans.* repeat steps for all 7 fans. After your last fan, sc into final chain space.Slst, tie off, and weave in ends
Refer to the Same Instructions above this pattern for the Ties for this bonnet.